top of page


WORK FLOW
This page is showing my pipeline my process crafting the those effects as
Technical Artist

Shader + Particle System
Porject: Cyclonic Rift
Engine: Unity
1
3Parts:
Tornado Mod Craft +
Tornado Shader Graph +
Dust Particle System.
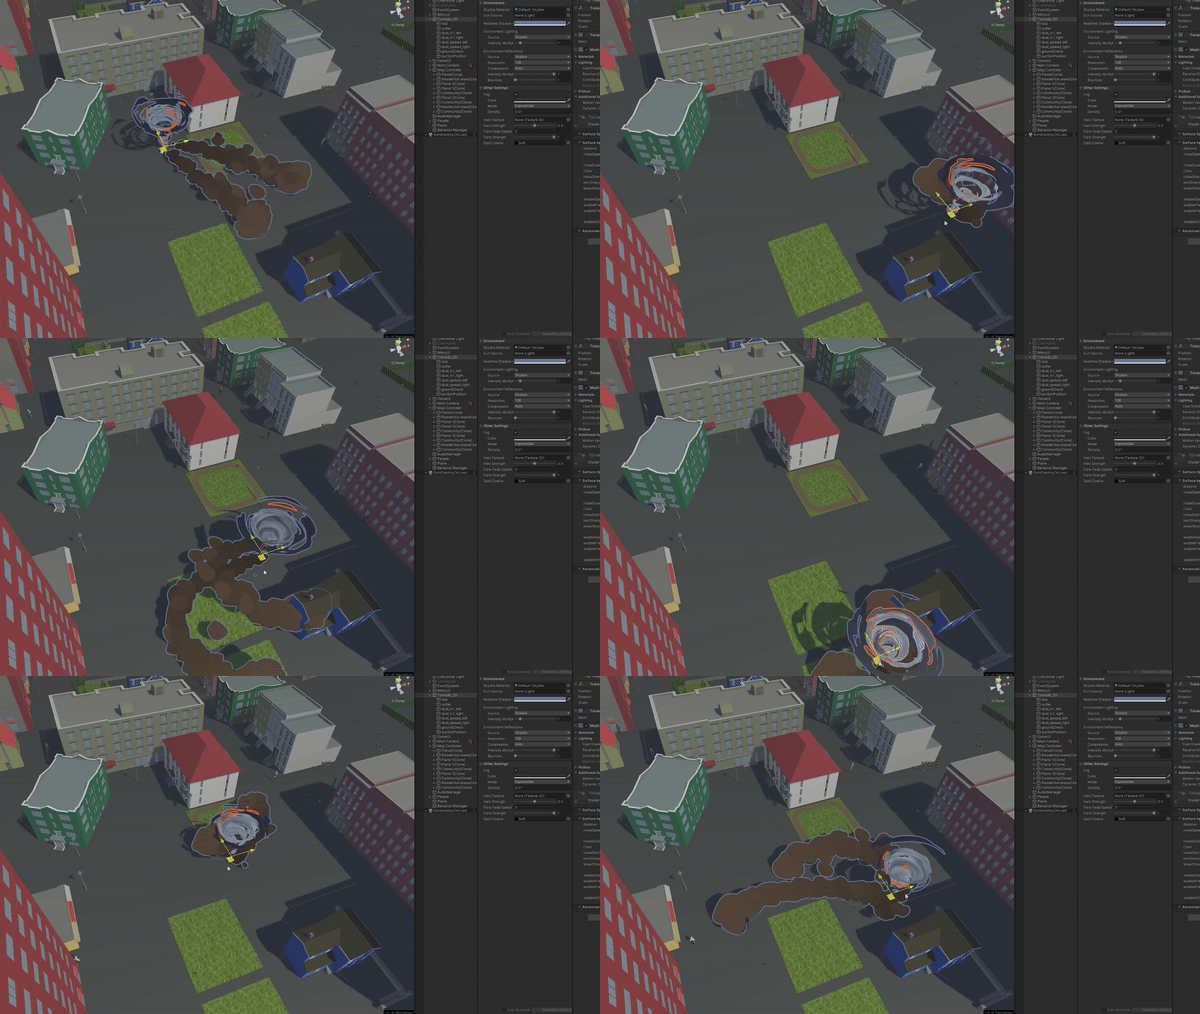
In the first part, this is the process of creating dynamic 3D tornado and dust effects in game of Cyclonic Rift. The modeling was done using 3DsMax, and I used Unity's Shader Graph to create the materials for the tornado model. Finally, using Particle System, I attached a dust emitter to the tornado, which emits dust particles that I adjusted as it moves. Finally, I made a realistic Tornado!
1 Tornado Mod Craft
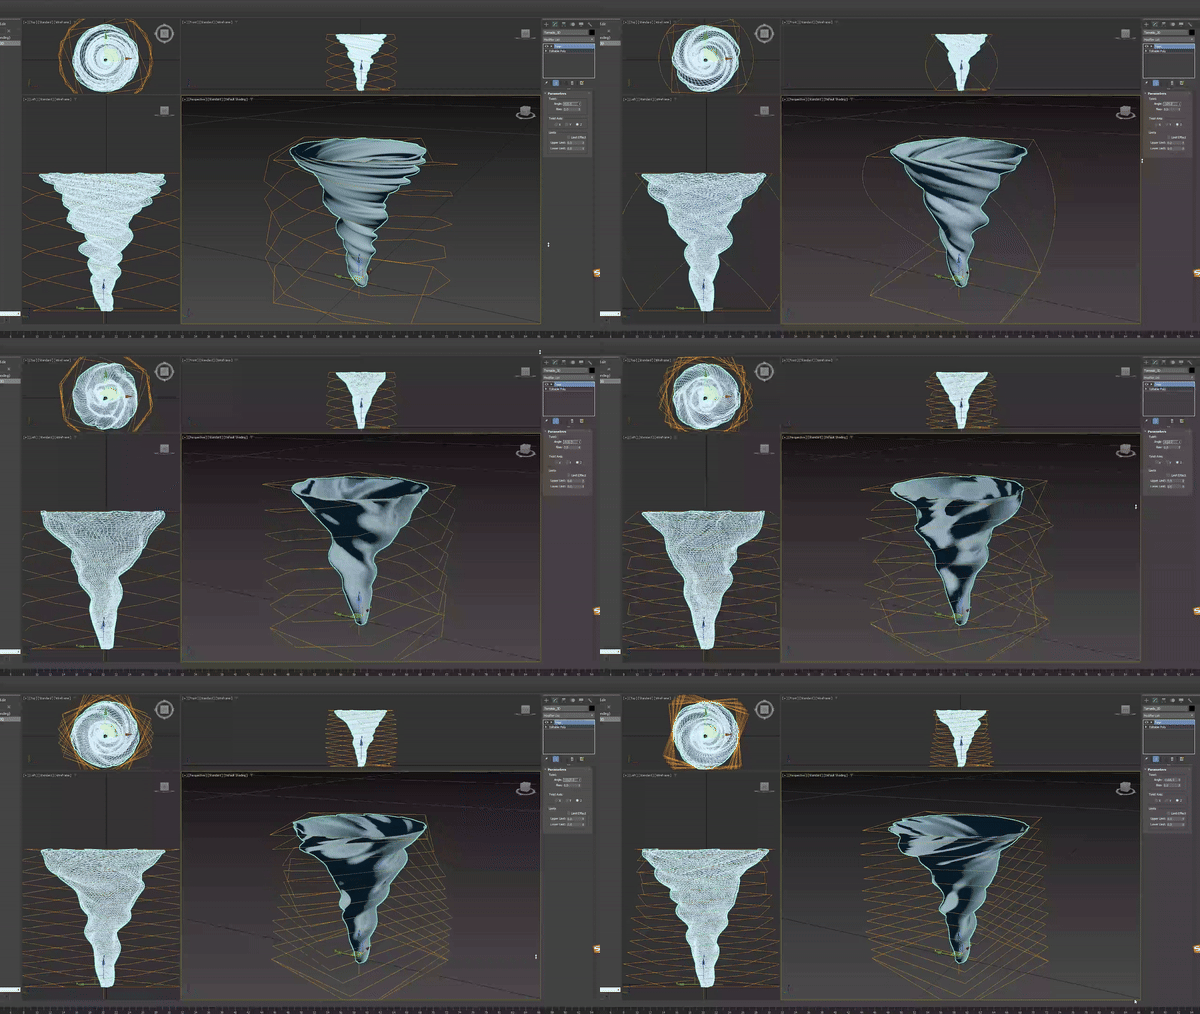
Using the Twist function in 3Ds Max, I transformed a cylinder into a tornado-like shape. The completed model was then exported in FBX format and imported into Unity for further development.
2 Tornado
Shader Graph
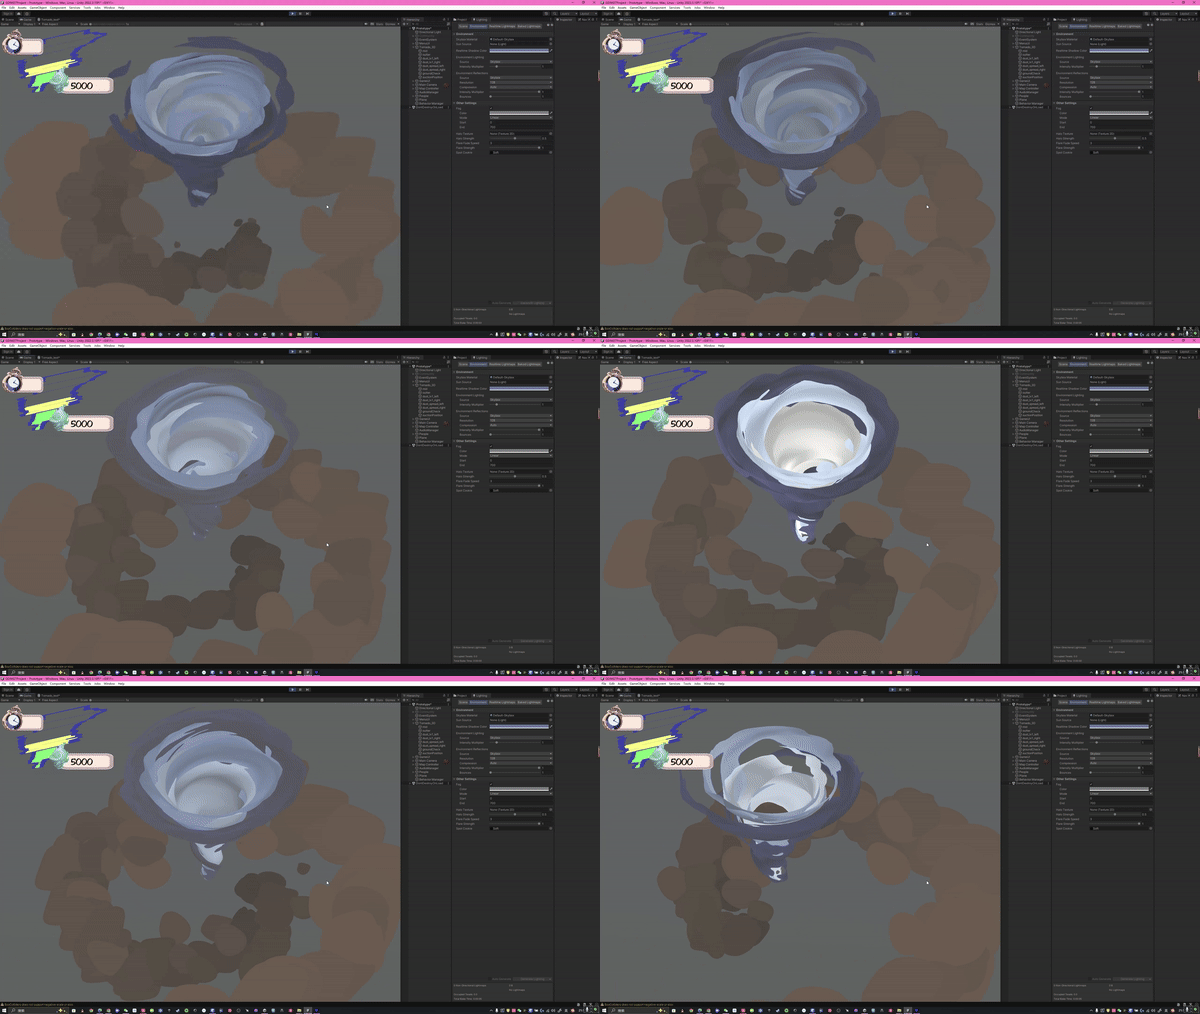
Using Shader Graph, I designed the material for the tornado model, enabling its parameters to be viewed and adjusted directly in the Inspector. To achieve visually compelling effects, a single layer for the tornado proved insufficient. Therefore, I created a total of three layers—Tornado_3D, Mid, and Outer—to add depth and enhance the tornado's overall appearance.
3 Dust
Particle System
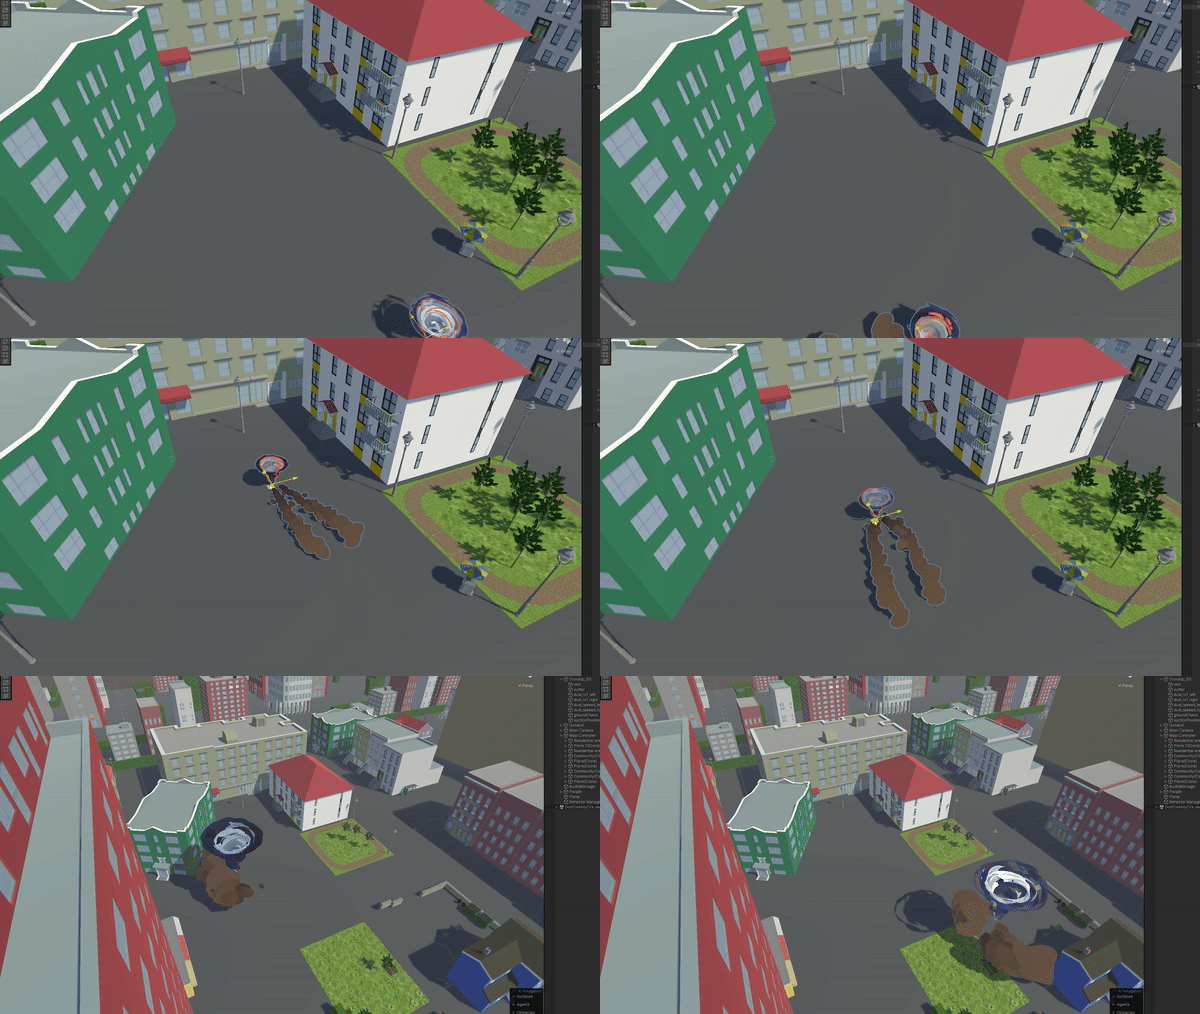
Using Unity's Particle System, I created a dynamic effect to simulate dust being kicked up as the tornado moves. To enhance the realism, I modeled an irregular base shape in 3Ds Max, which served as the mesh for the dust
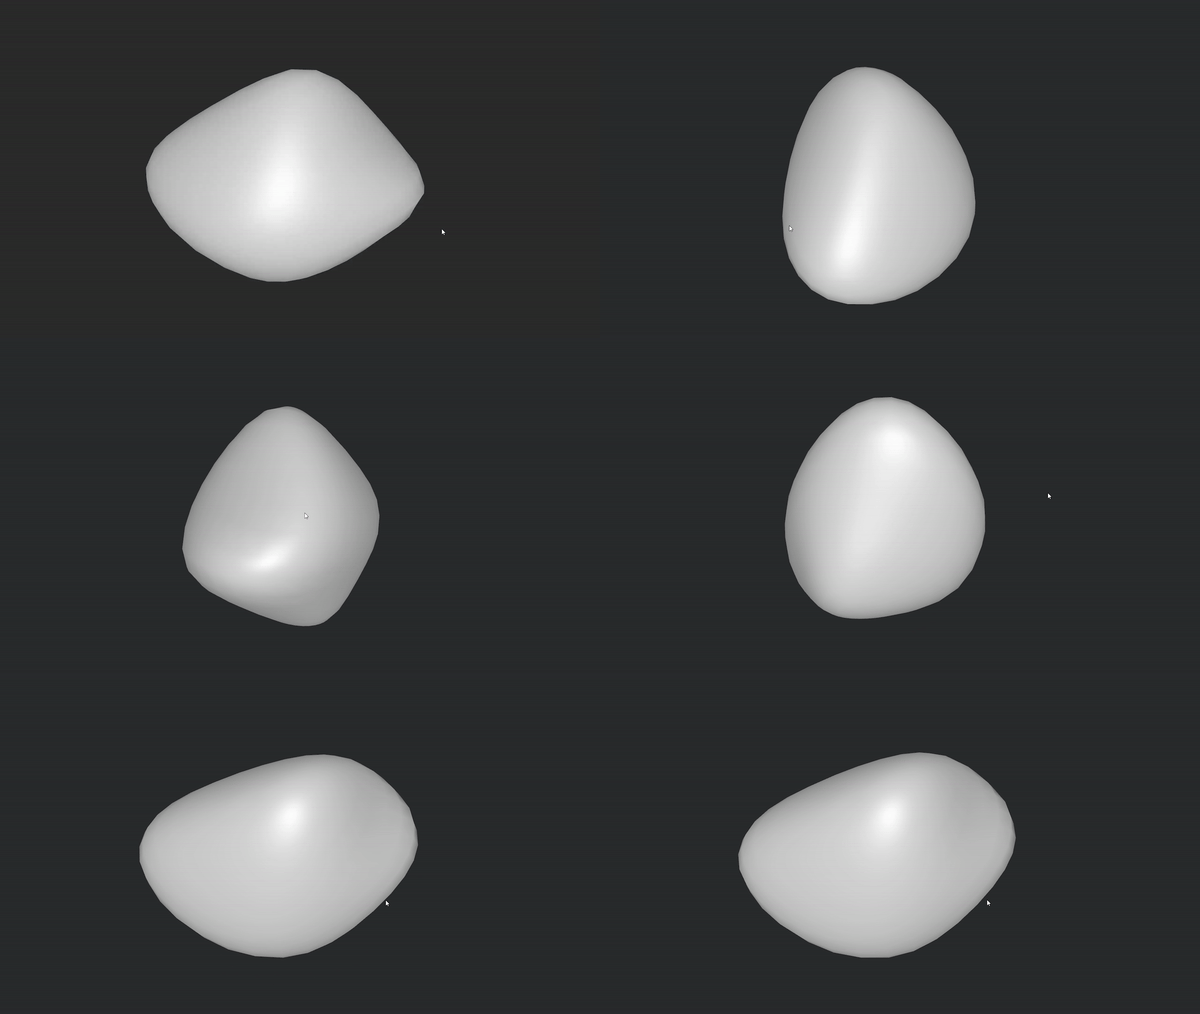
The irregular model served as the emitter for the Particle System, enabling it to release particles dynamically. I adjusted the parameters based on reference footage to achieve a realistic effect. One key enhancement was the creation of a Dust_spread effect, simulating the dispersion of dust as it is kicked up. Furthermore, I tailored the dust particle behavior to reflect the tornado's growth—dust particles at the start of the tornado differ from those emitted as the tornado becomes larger. For the upgraded tornado, I made specific adjustments to intensify the dust effects, highlighting the increased power and scale of the storm.

Shader + Particle System + Distance Fog Render + Skybox
Porject: Lemon Tree VR
Engine: Unity
2
5Parts:
Tornado Shader Adjust +
Sandstorm Particle System +
Wind Trail Particle System +
Distance Fog Render +
Skybox.
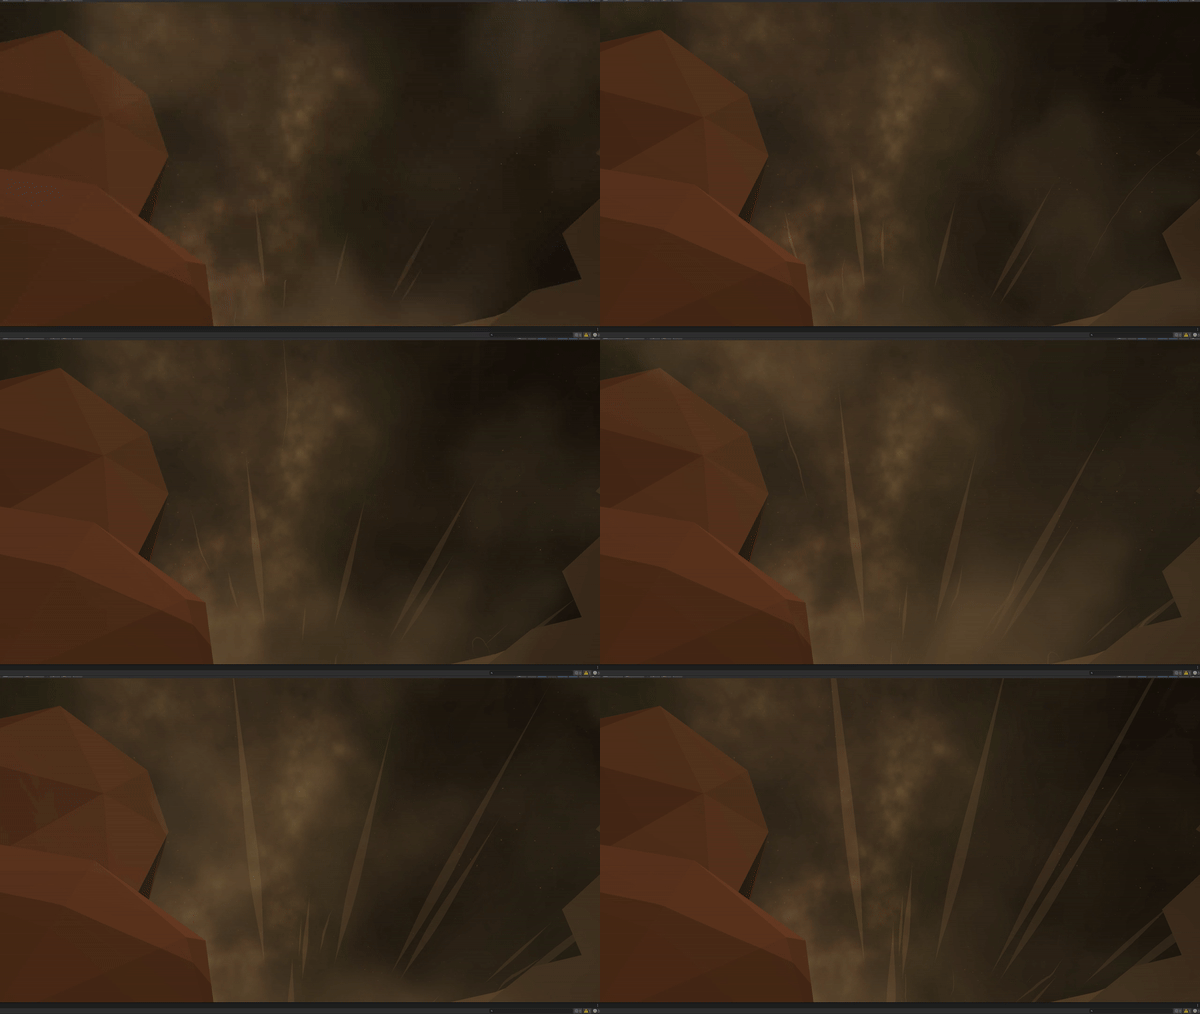
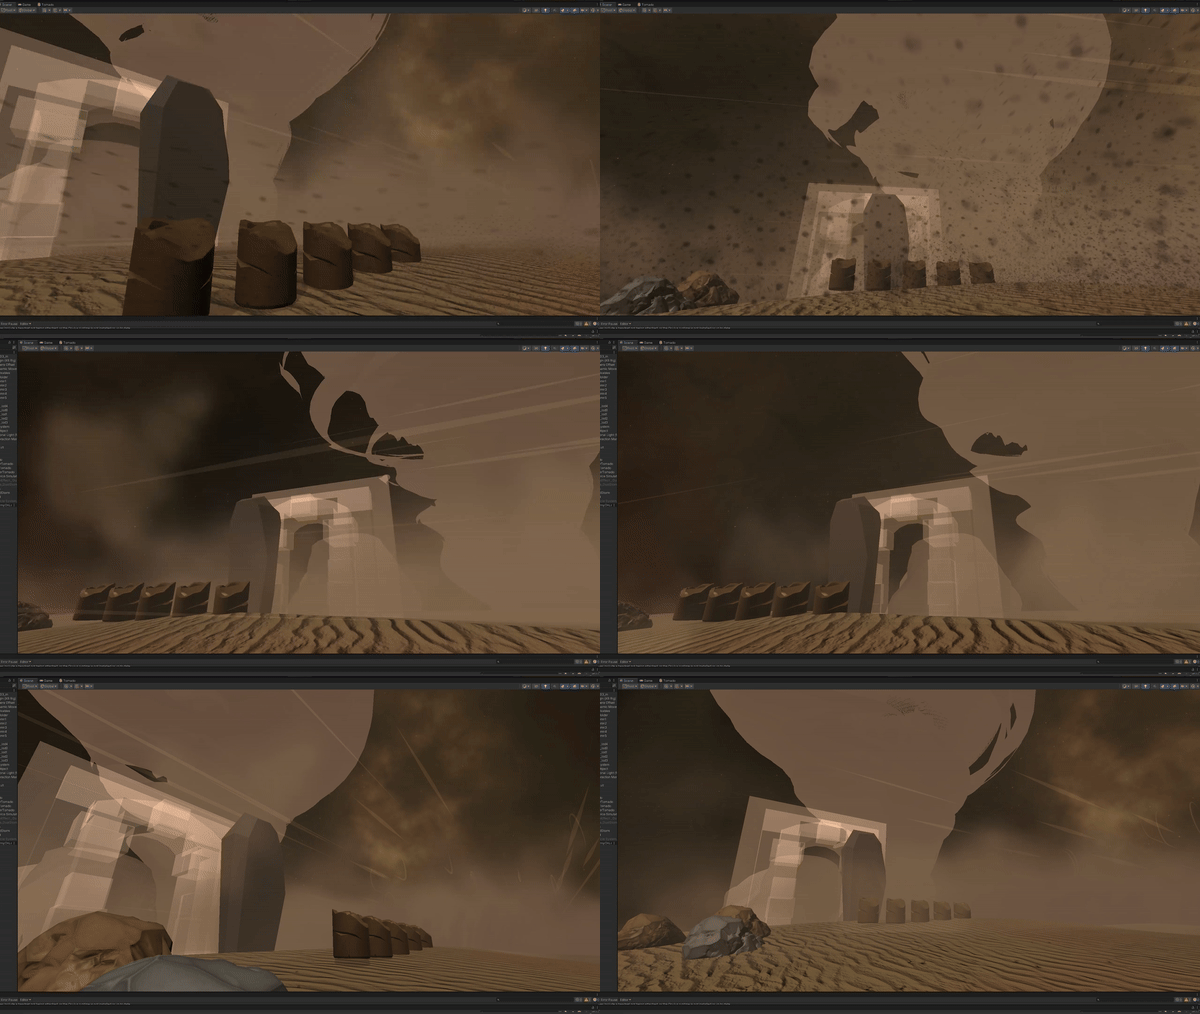
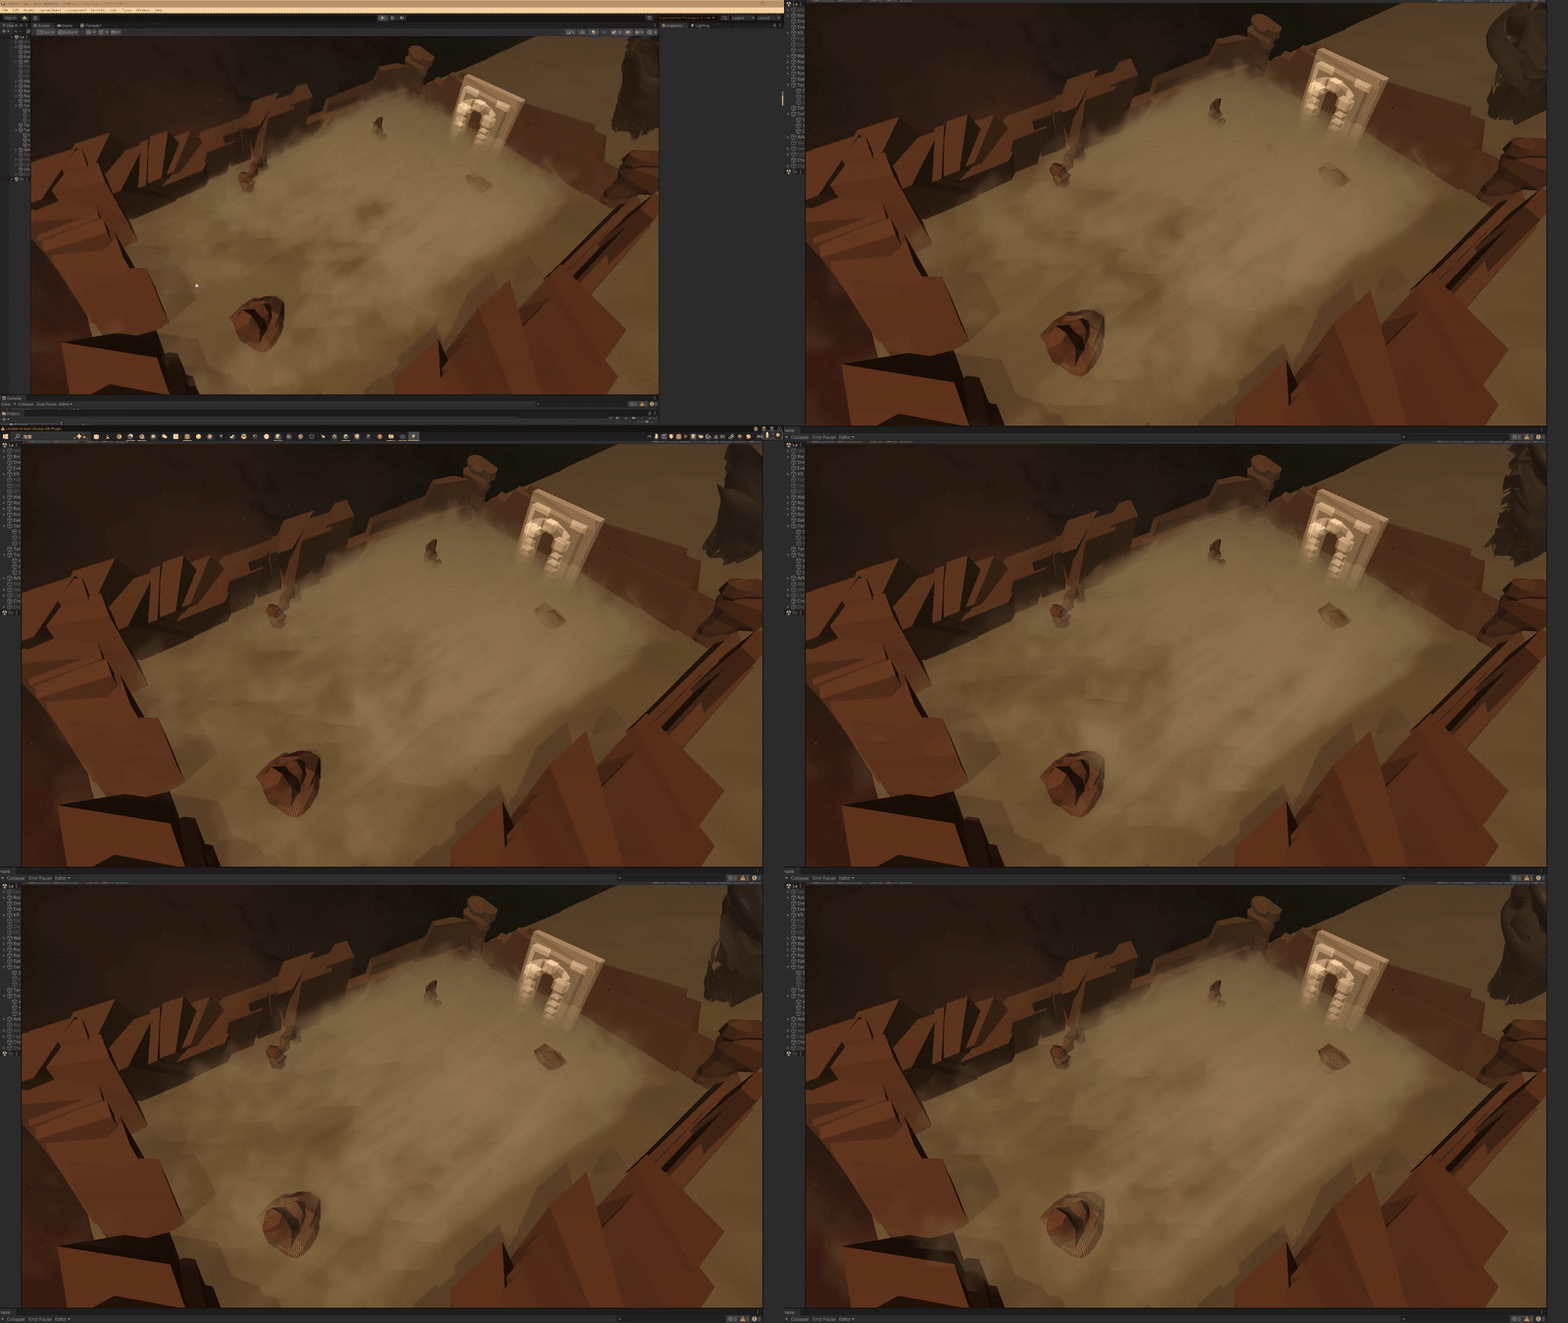
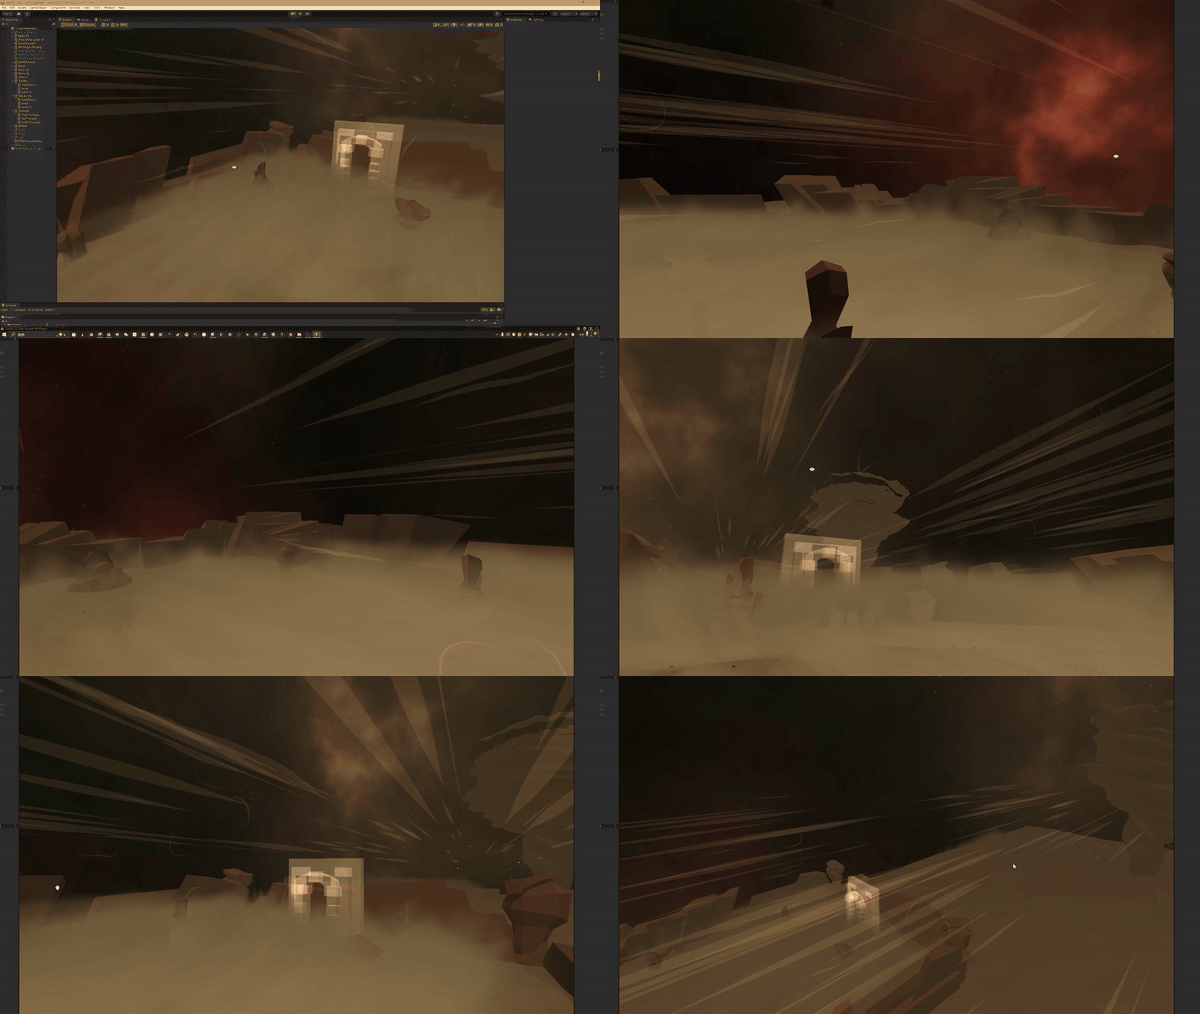
In this section, I showcase the process of creating a desert environment amidst a sandstorm, complete with a desert tornado. I fine-tuned the tornado parameters in Cyclonic Rift and utilized Unity's Particle System to generate flying dust and wind trails throughout the scene. To enhance the atmosphere, I implemented Unity's built-in Distance Fog Renderer, adding a sense of depth and immersion. These elements combined to create a dense, suffocating desert sandstorm setting for the game Lemon Tree VR.
1 Tornado
Shader Adjust
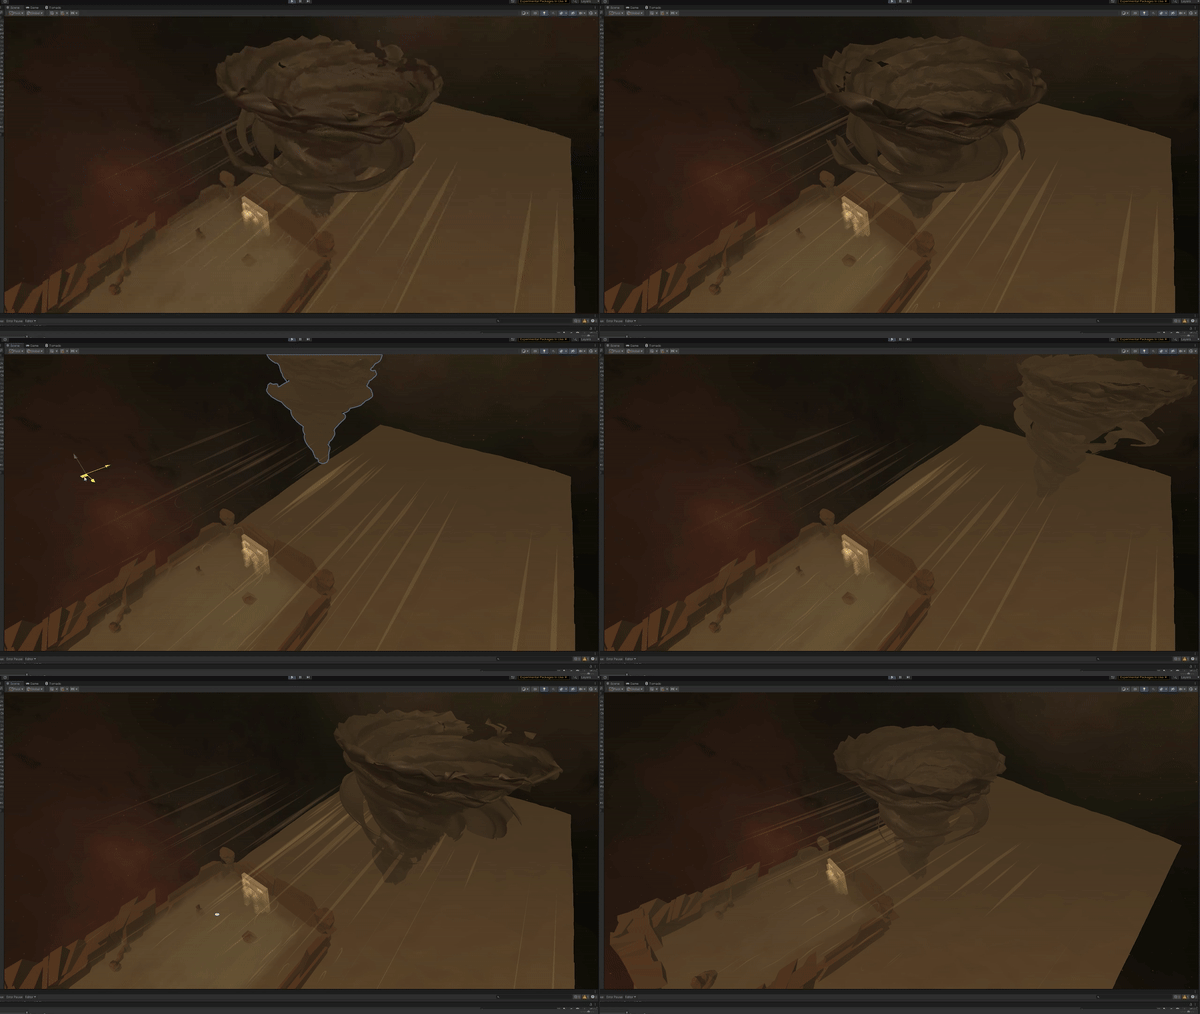
I reused the tornado model and shader from Cyclonic Rift but added a "Wobble" parameter to enhance the tornado's realism by introducing dynamic movement. This "Wobble" parameter was not active in the original Cyclonic Rift. Additionally, I adjusted the tornado's color and modified the sizes of its three layers.

2 Sandstorm
Particle System
I incorporated the smoke texture I created into the Particle System and adjusted the color parameters to achieve a natural fading effect. The transparency was set to 0 at both the start (position 0) and end (position 100) of the particle's lifetime, with 90% transparency at the midpoint (position 50). To complete the effect, I enabled random rotation and fine-tuned the particle count to create a realistic sandstorm effect.
3 Wind Trail
Particle System
The key to creating wind trails lies in the "Trails" parameter within the Particle System, which generates a trail along the particles' paths. Another critical setting is "Velocity over Lifetime," which introduces variations in particle trajectories, preventing them from moving in a straight line. Finally, incorporating "Noise" adds irregular vibrations to the movement, enhancing realism. By combining these features and setting an appropriate particle count, a convincing wind trail effect is achieved!


Particle System
+ Shader+ Post-Process + Lighting
Porject: Resurgence of Horror
Engine: Unity
3
9Parts:
Fog Particle System +
Fire Particle System +
Fallen Leafs Particle System+
Incense Particle System +
Post-Process +
Lighting +
Water Shader +
Dissolve Shader +
Ghost Shader
In this section, I outlined the nine key technical methods I employed to craft the environment and atmosphere in the game Resurgence of Horror (ROH). These methods include Shader Graph, Particle System, Lighting, Post-Processing, and Distance Fog Rendering. Since the Distance Fog Rendering technique is similar to its implementation in Lemon Tree, I will not delve into further details here.
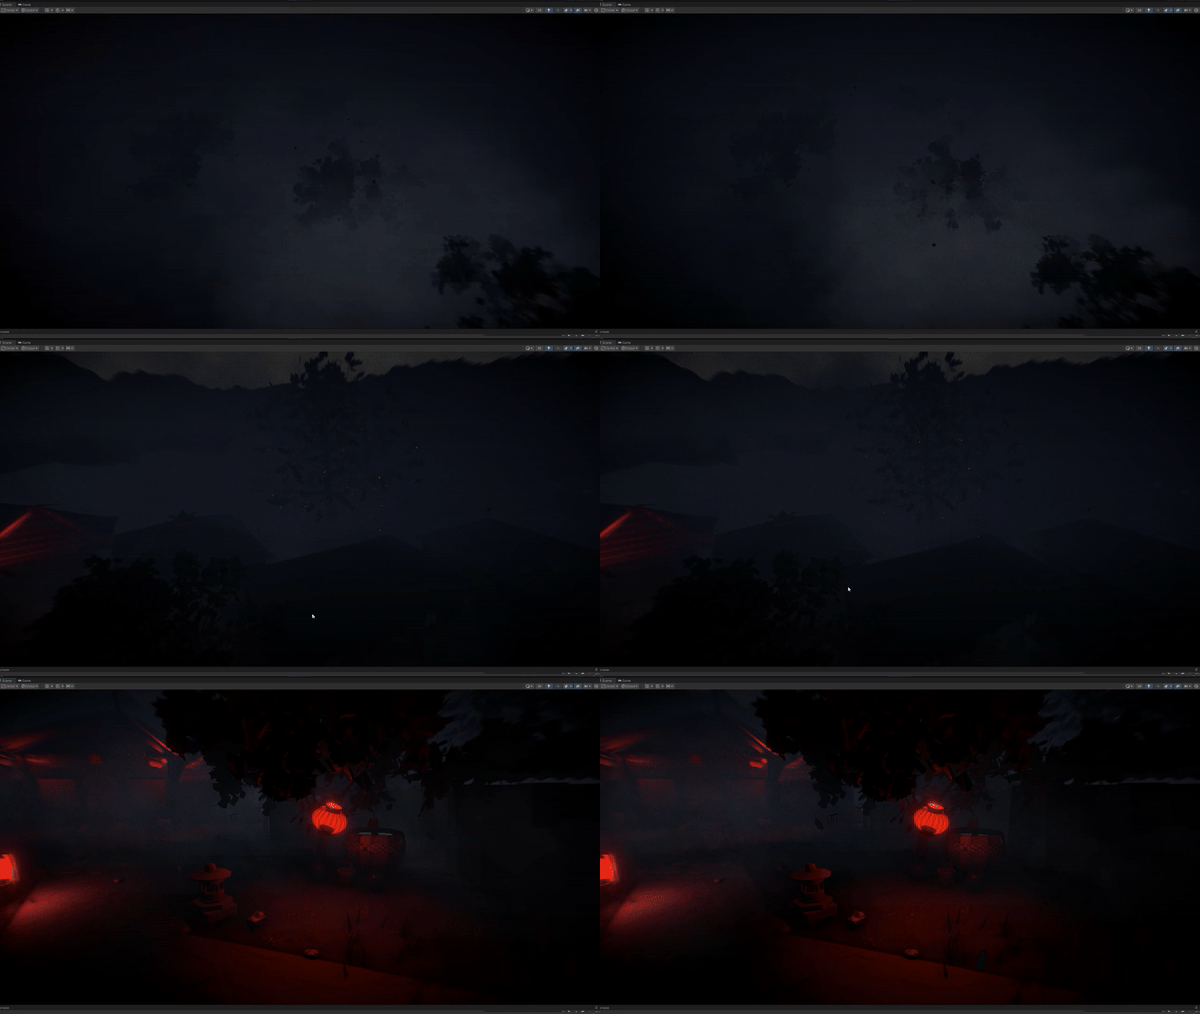
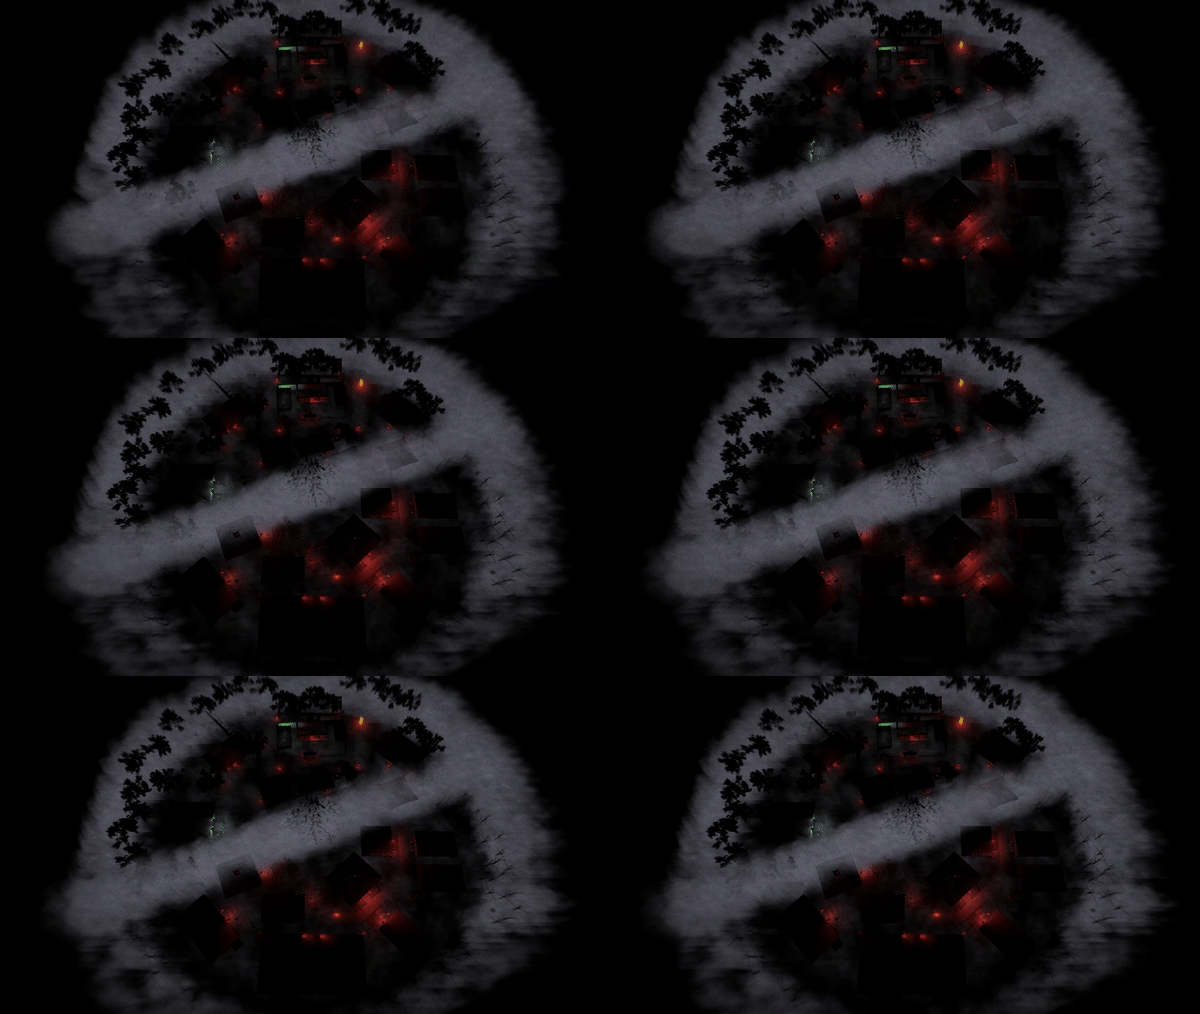
1 FOG PArticle SYSTEM
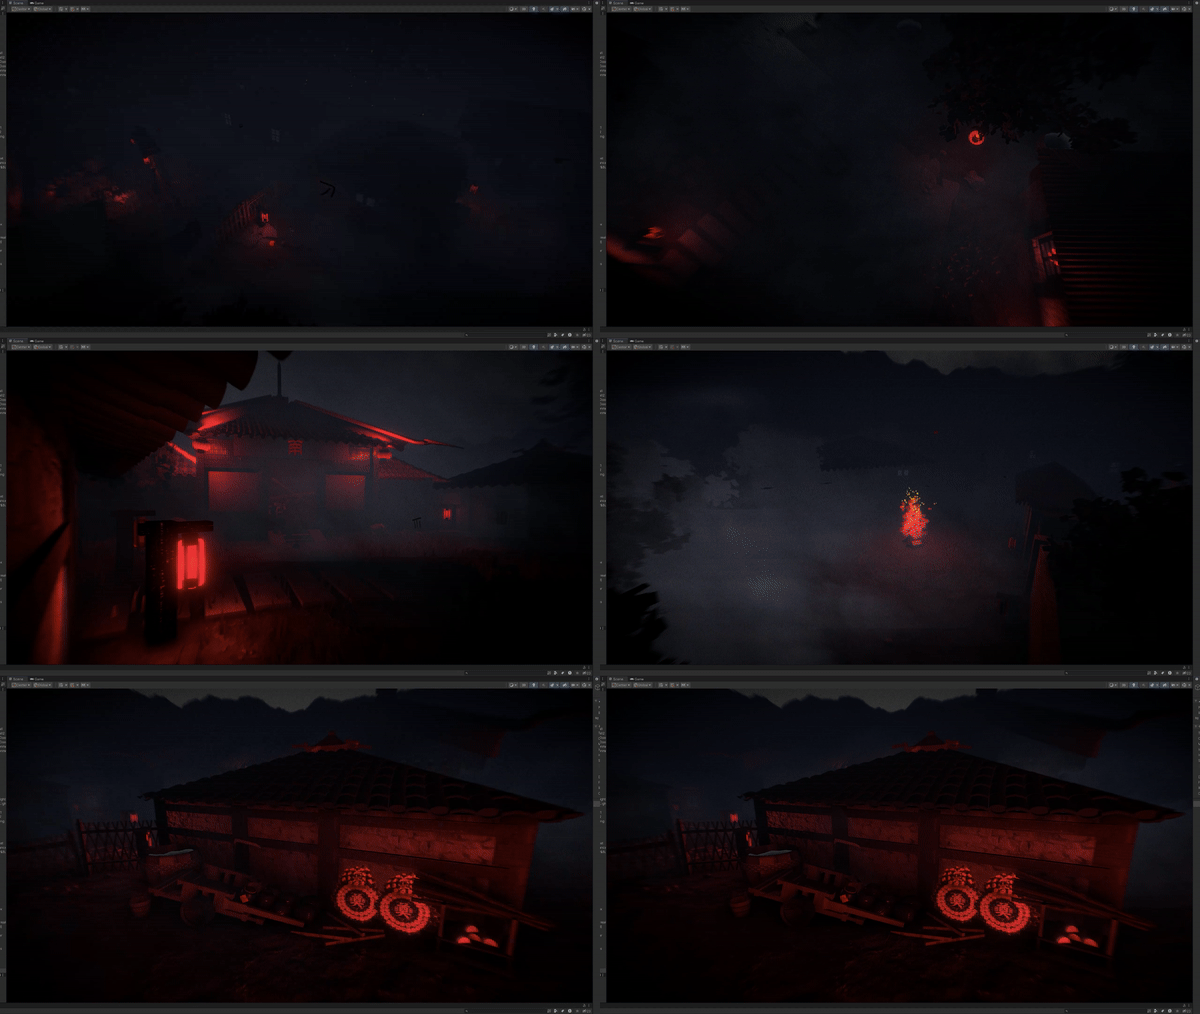
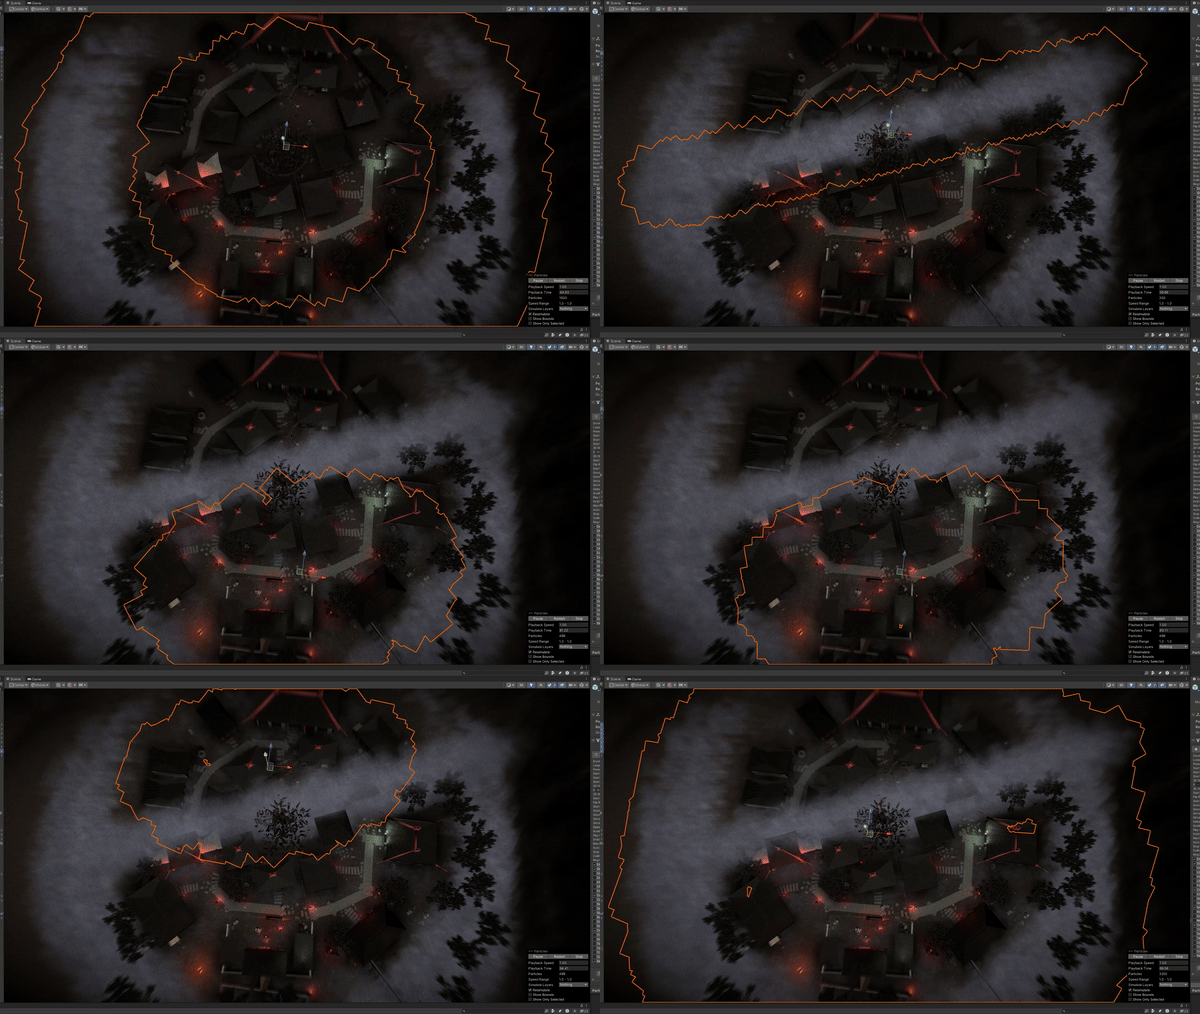
The method is straightforward. I reused the same texture from Lemon Tree's sandstorm as the particles in the emitter. These particles rotate randomly within a predefined range and dynamically change size over their lifetime. The transparency starts and ends at 0, reaching approximately 90% at the midpoint of the lifetime.
From a level design perspective, I implemented a ring of dense fog around the map as an "air wall" to prevent players from leaving the playable area. Inside the map, I applied light fog to enhance the atmospheric ambiance. Additionally, I used a layer of thick fog between the upper and lower halves of the map to act as a visual and spatial divider.
2 Fire
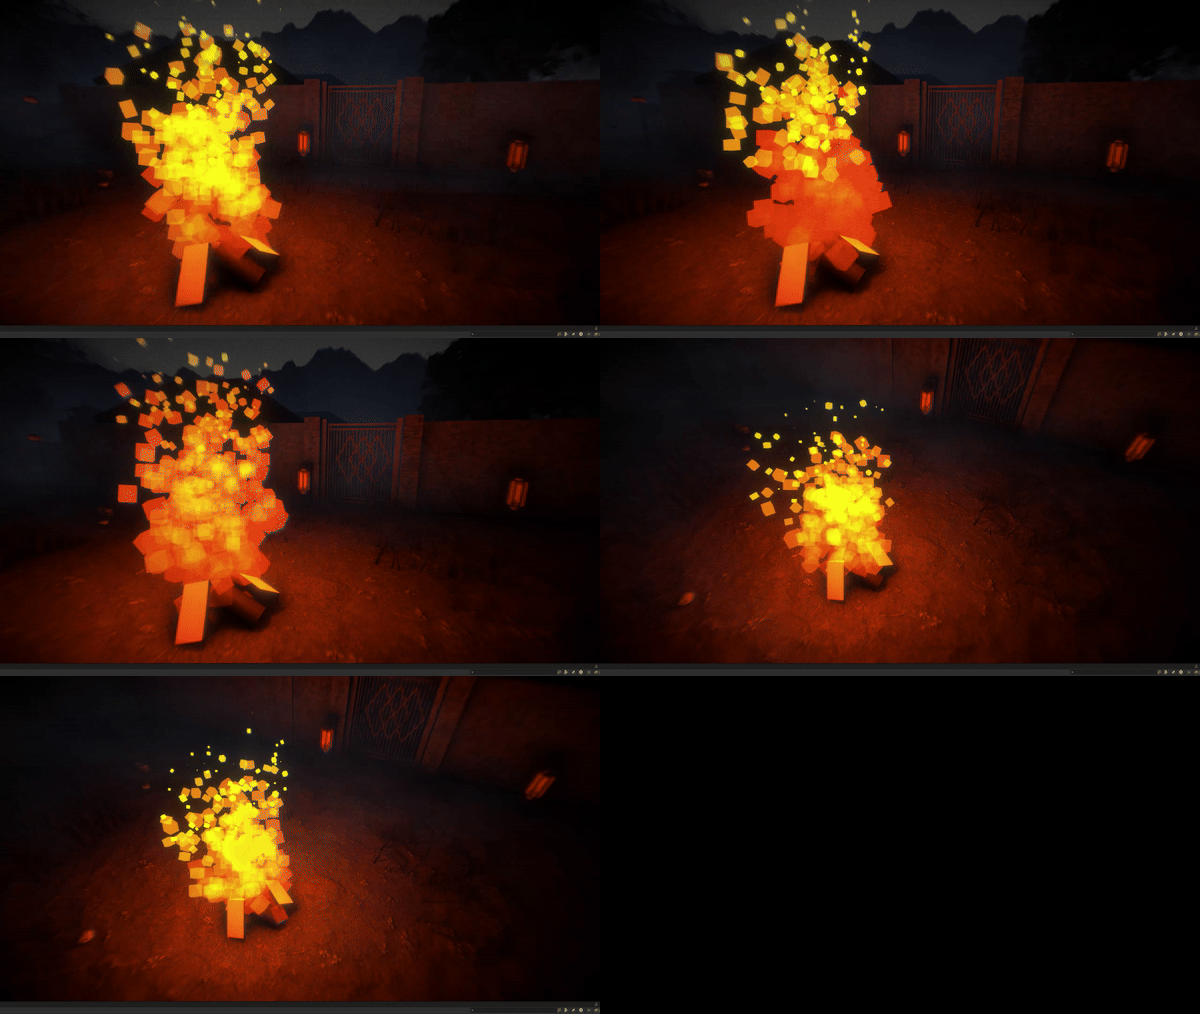
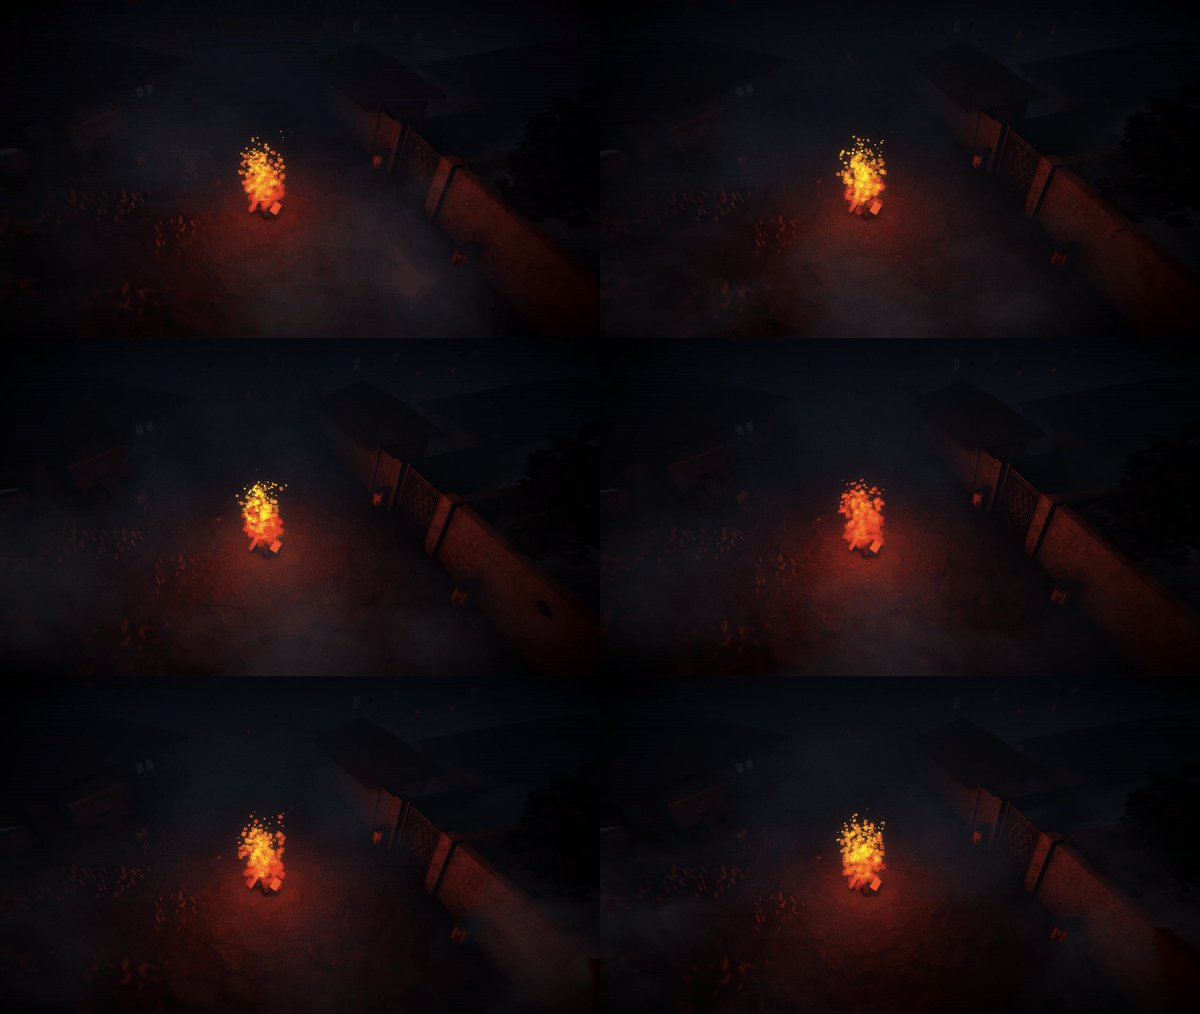
Particle System
The method is straightforward. I reused the same texture from Lemon Tree's sandstorm as the particles in the emitter. These particles rotate randomly within a predefined range and dynamically change size over their lifetime. The transparency starts and ends at 0, reaching approximately 90% at the midpoint of the lifetime.
From a level design perspective, I implemented a ring of dense fog around the map as an "air wall" to prevent players from leaving the playable area. Inside the map, I applied light fog to enhance the atmospheric ambiance. Additionally, I used a layer of thick fog between the upper and lower halves of the map to act as a visual and spatial divider.
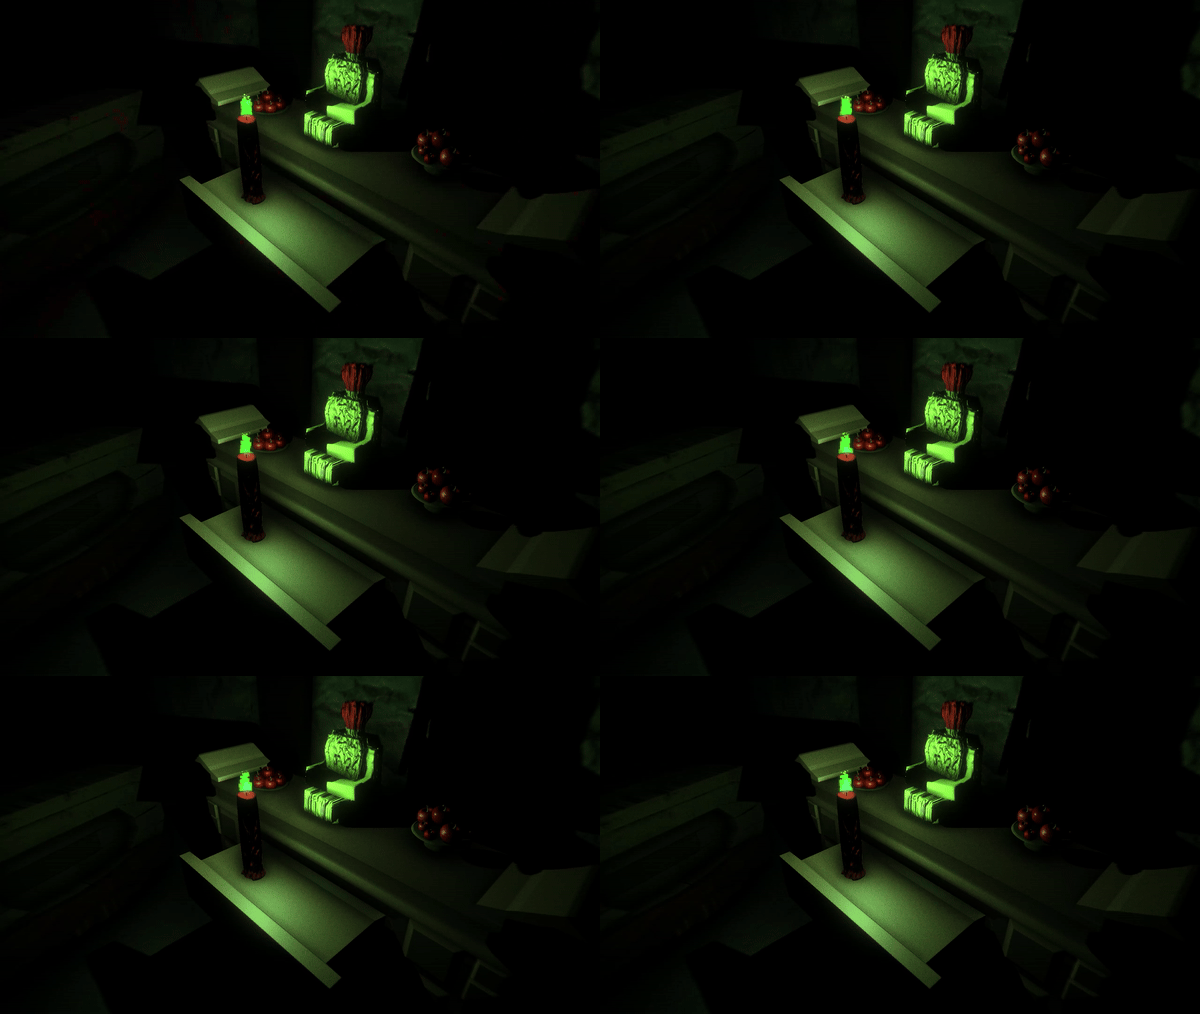
Candle Particle System
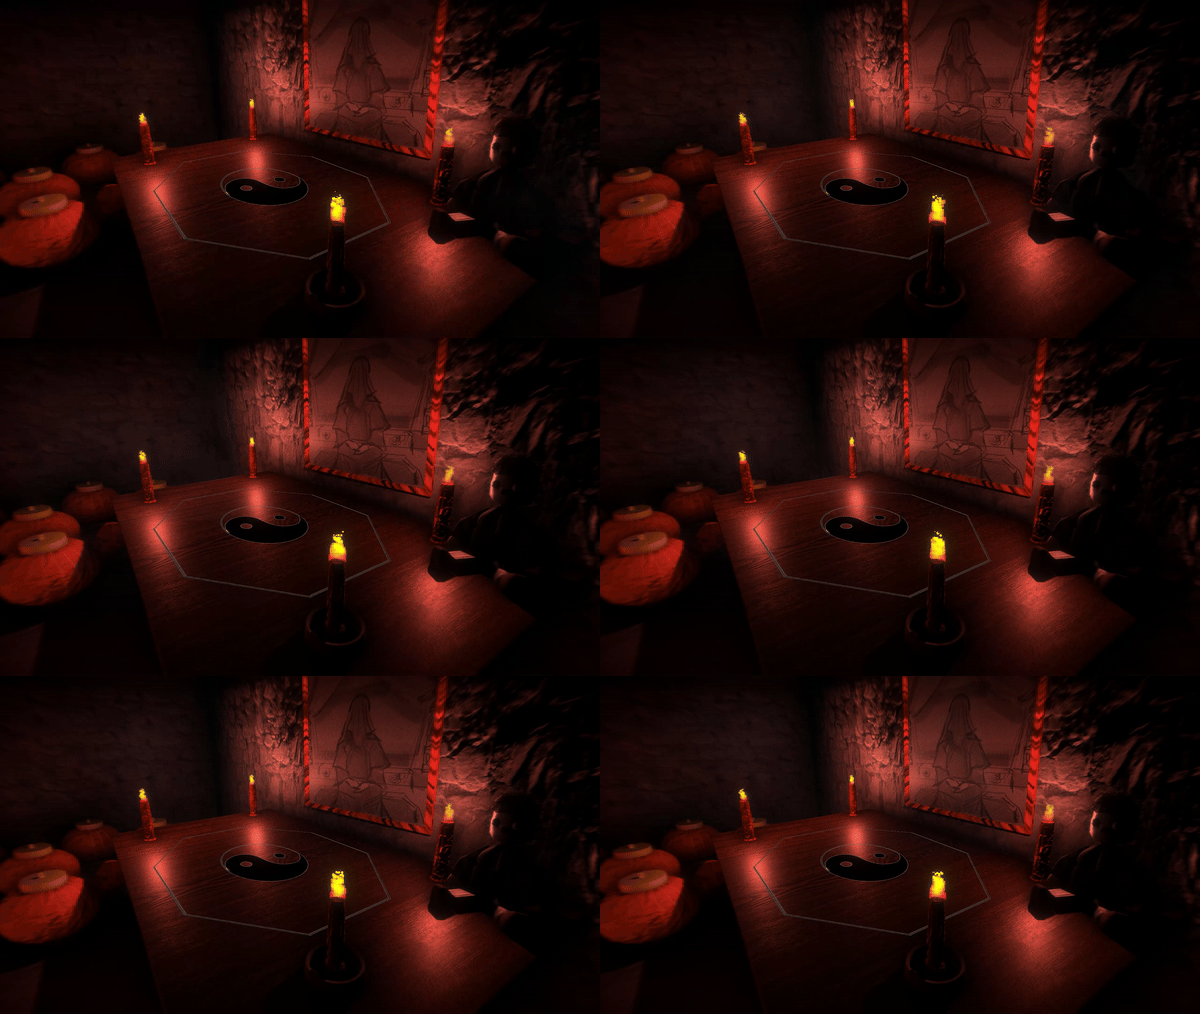
Using the same method, I adjusted the parameters to create a candle flame effect. By fine-tuning the particle size, speed, and transparency, I was able to replicate the gentle flicker of a candle flame.

Additionally, I customized the color settings to produce flames for candles in different hues, enhancing the versatility of this technique.
3 Fallen Leafs
Particle System
I used a leaf texture in the emitter, configured the Noise and Gravity parameters, and adjusted the particle quantity as needed to achieve the desired effect.
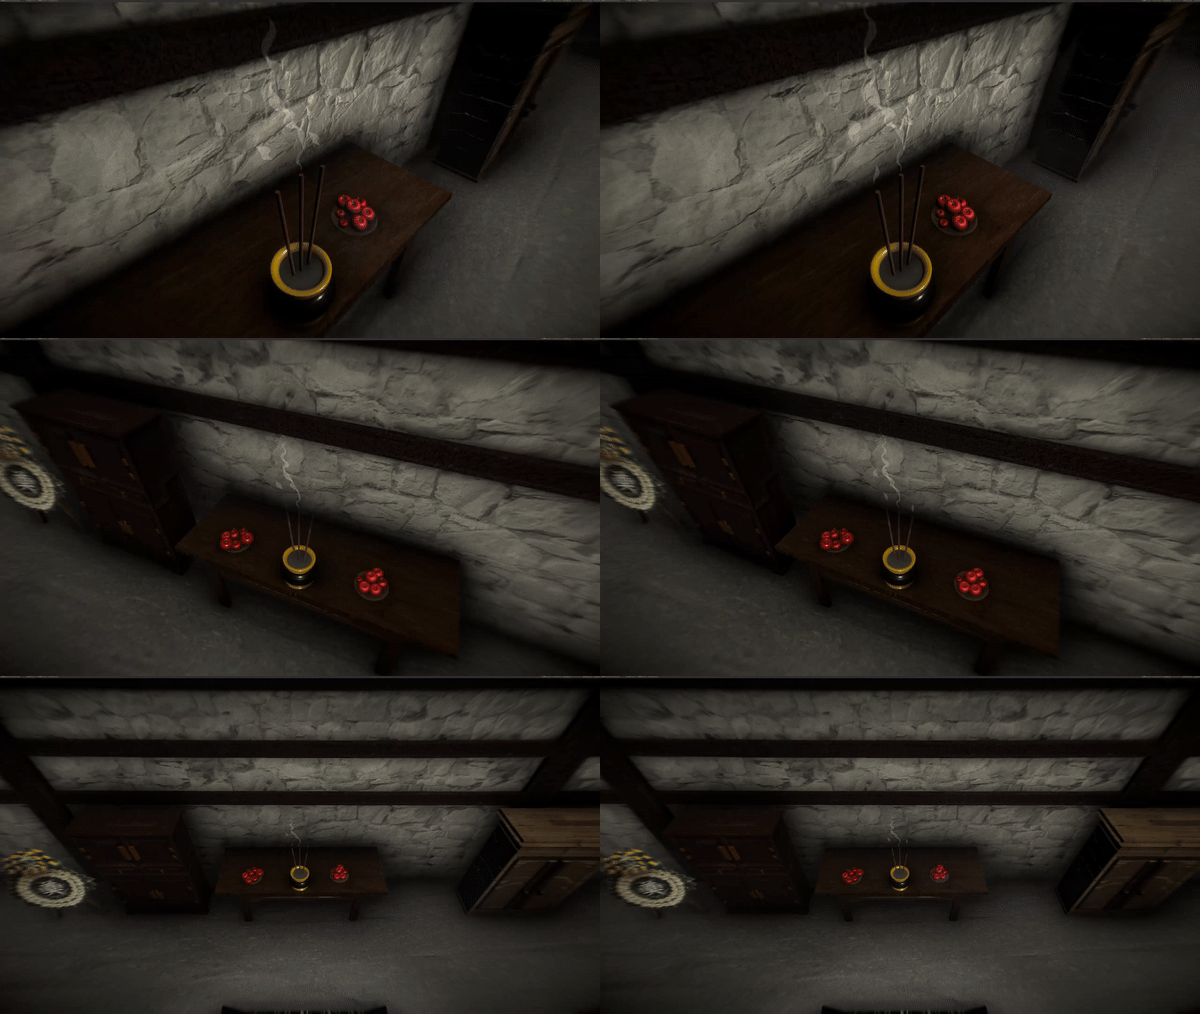
4 Inscense
Particle System
Utilize the "Velocity over Lifetime" parameter, as demonstrated in Lemon Tree's Wind Trail, to define the movement trajectory of the model. Then, enable the "Trail" parameter to generate a trail along the path. Finally, fine-tune the Lifetime and particle quantity to achieve the desired effect.
5 Post-Process
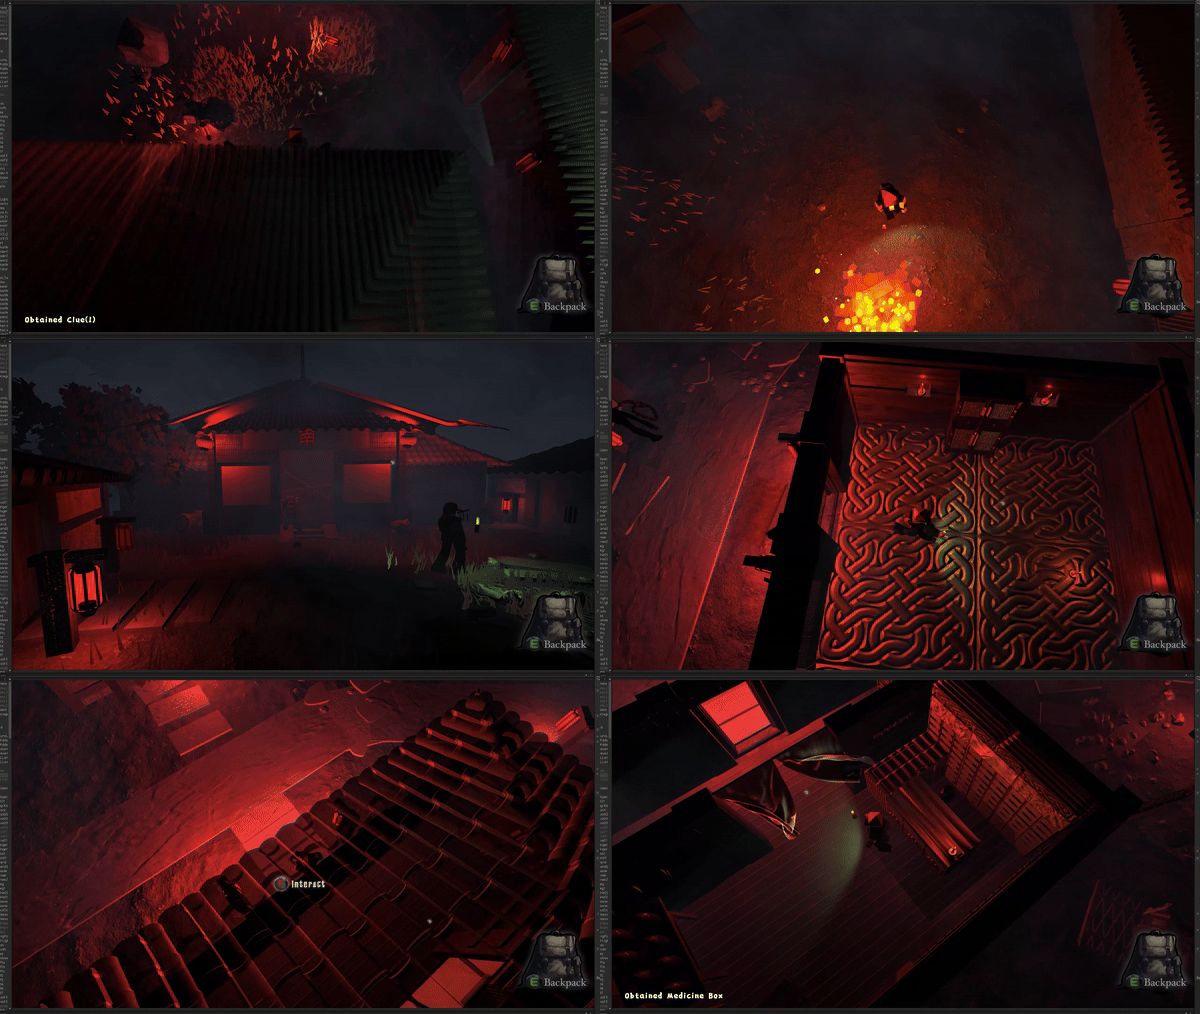
For Resurgence of Horror (ROH), I designed five distinct post-process components: GamePlay, Protect, Grave, Hide, and Chasing.
GamePlay: Active during normal gameplay.
Protect: Activated when the player uses a protective item.
Grave: Triggered during encounters with a specific monster.
Hide: Displayed when the player hides in a cabinet.
Chasing: Engaged during chase sequences.
Each post-process component was carefully crafted to enhance its respective scenario with unique visual effects. I also developed scripts to ensure these effects are triggered seamlessly at the appropriate moments, providing a cohesive and immersive gameplay experience.

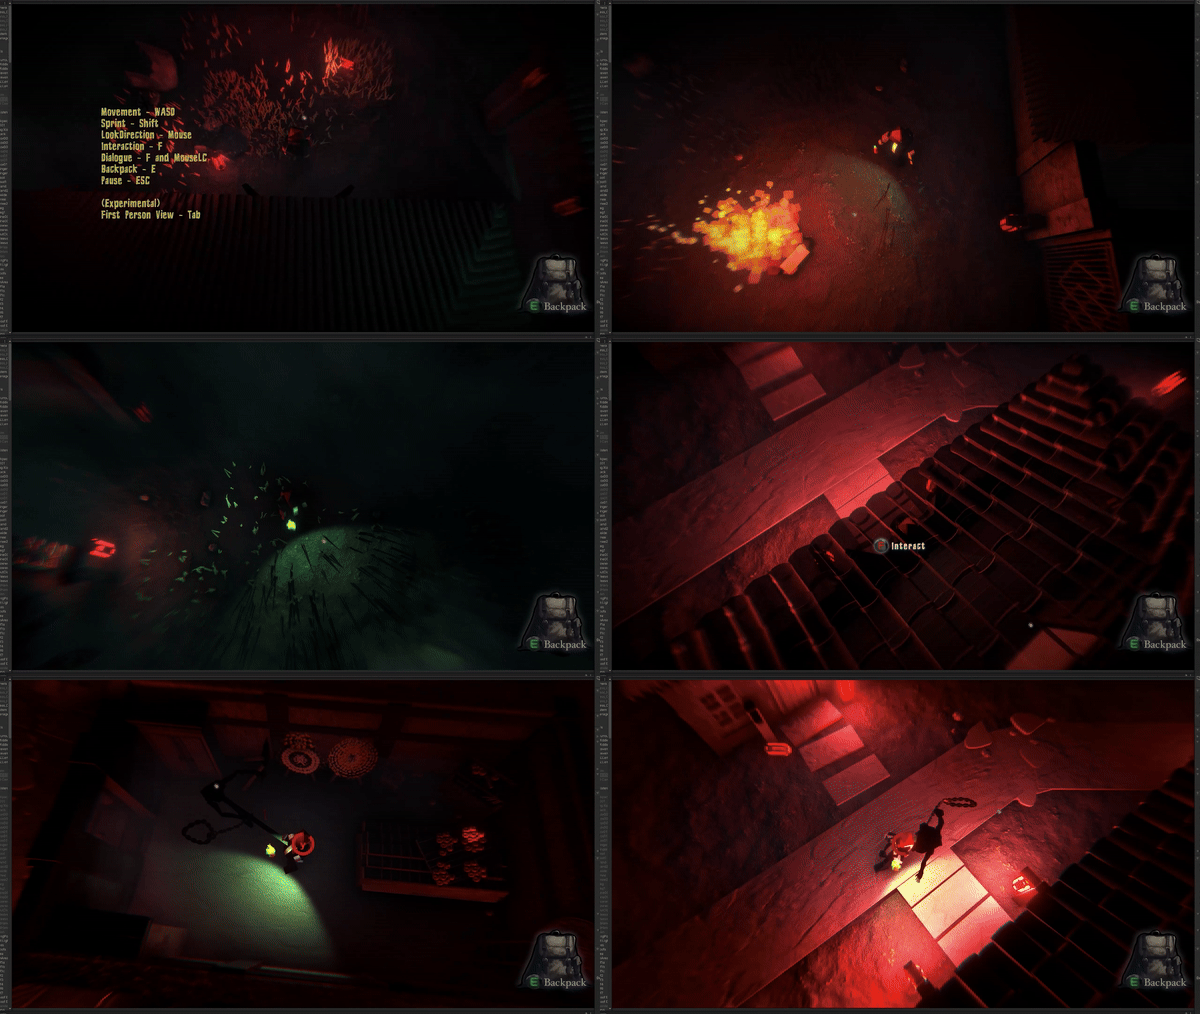
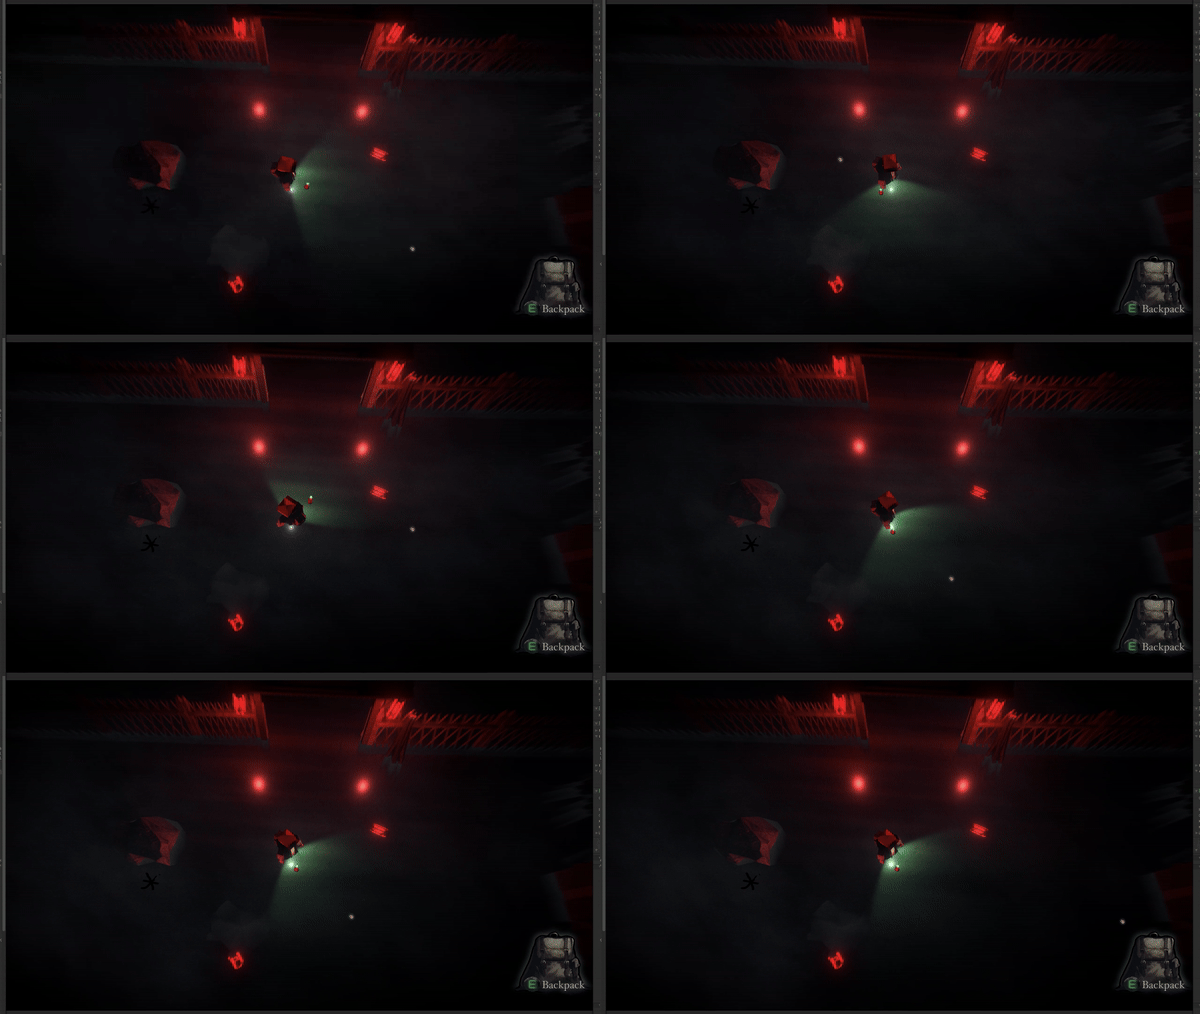
6 Lighting
The lantern's light serves as both a guide for the player's path and a tool to illuminate objects within the game.


Additionally, a faint white light is always set on the player to ensure they do not lose their sense of direction, even if the main light source is lost.
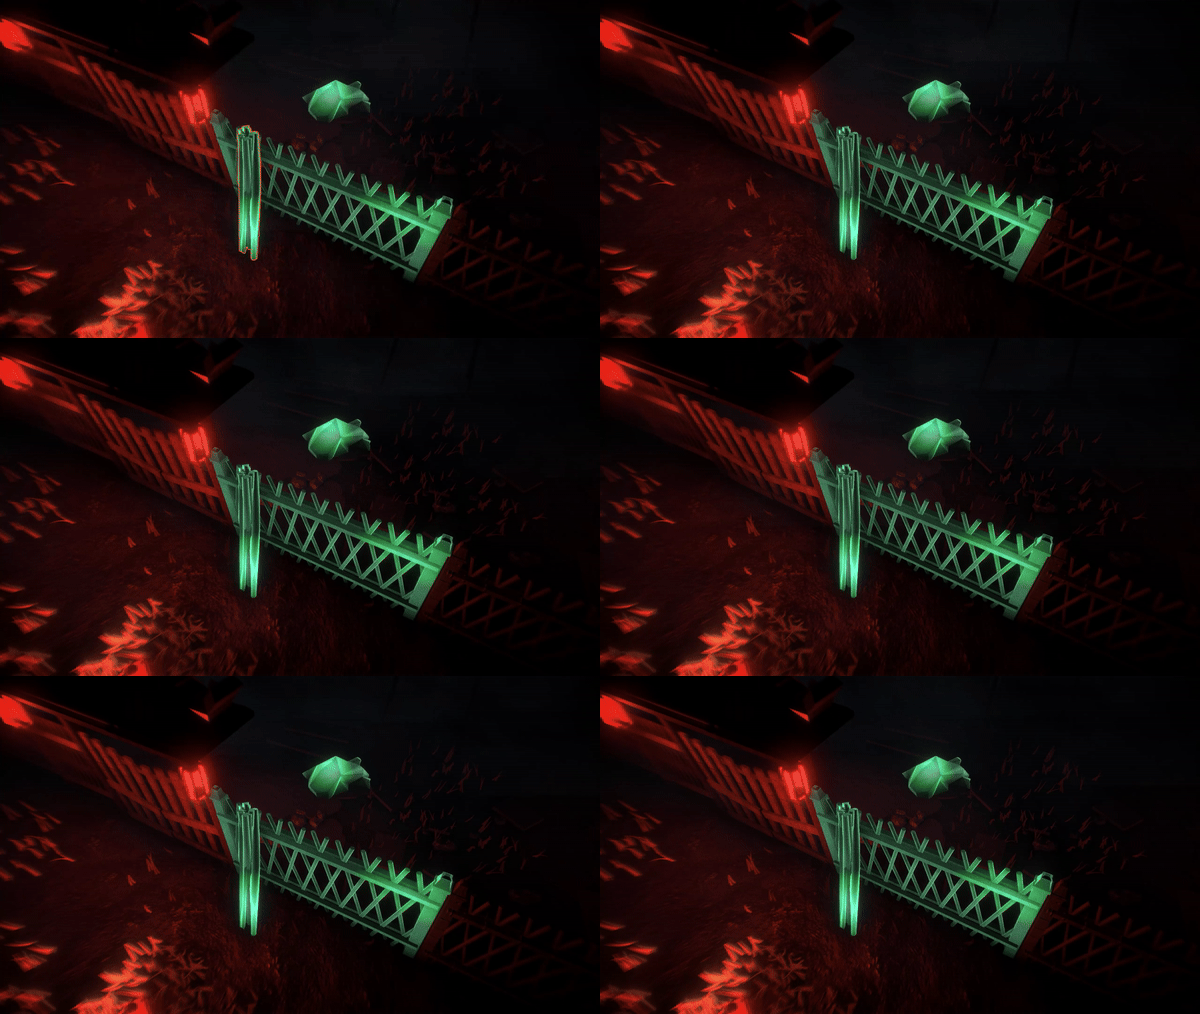
7 Water Shader
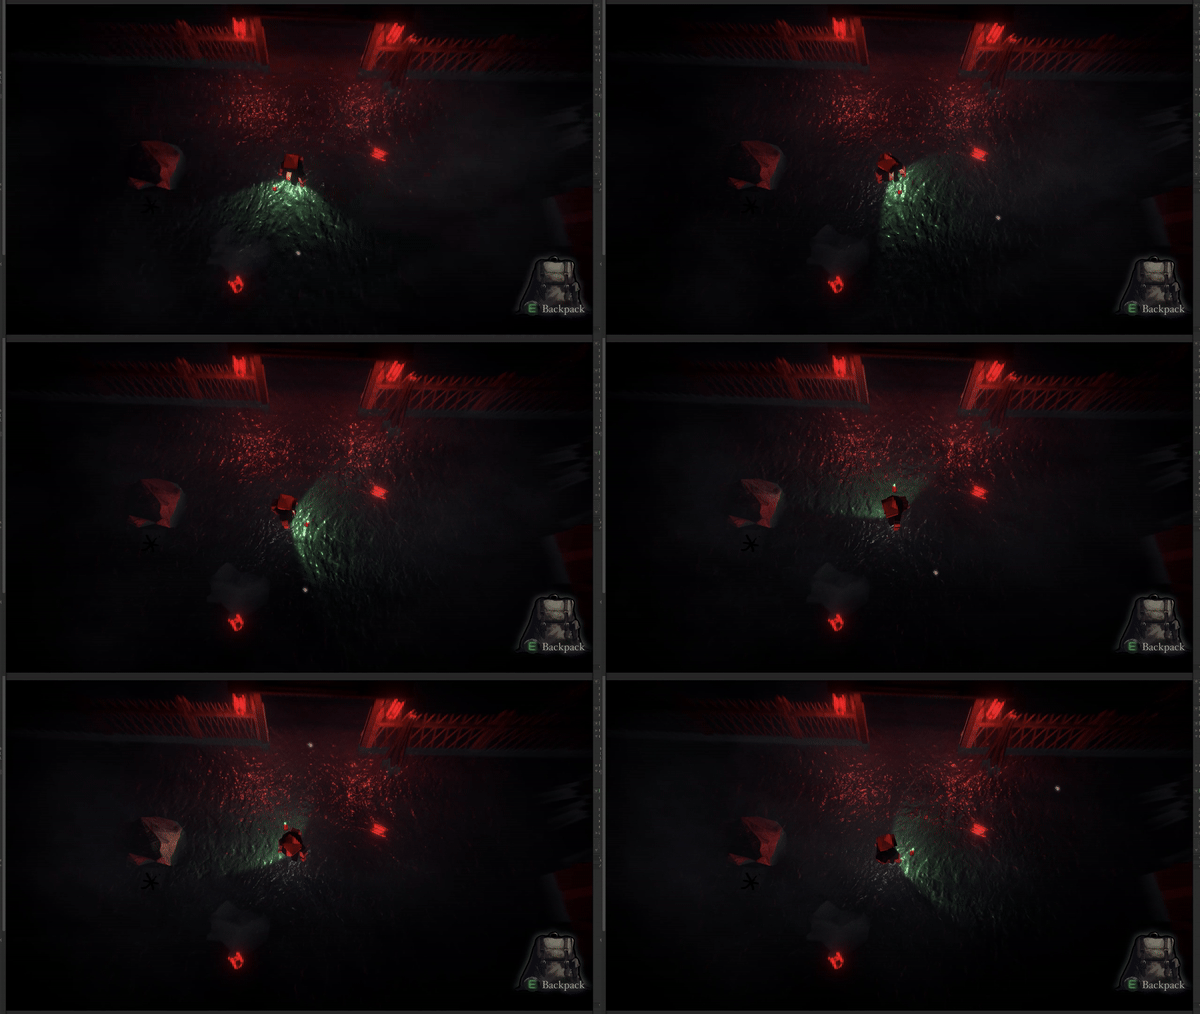
I’m particularly proud of the water shader I created. It allows for adjustments to the speed and size of the waves, among other parameters. Most importantly, it features visible depth, adding a layer of realism to the effect!


8 Dissolve Shader
9 Ghost Shader
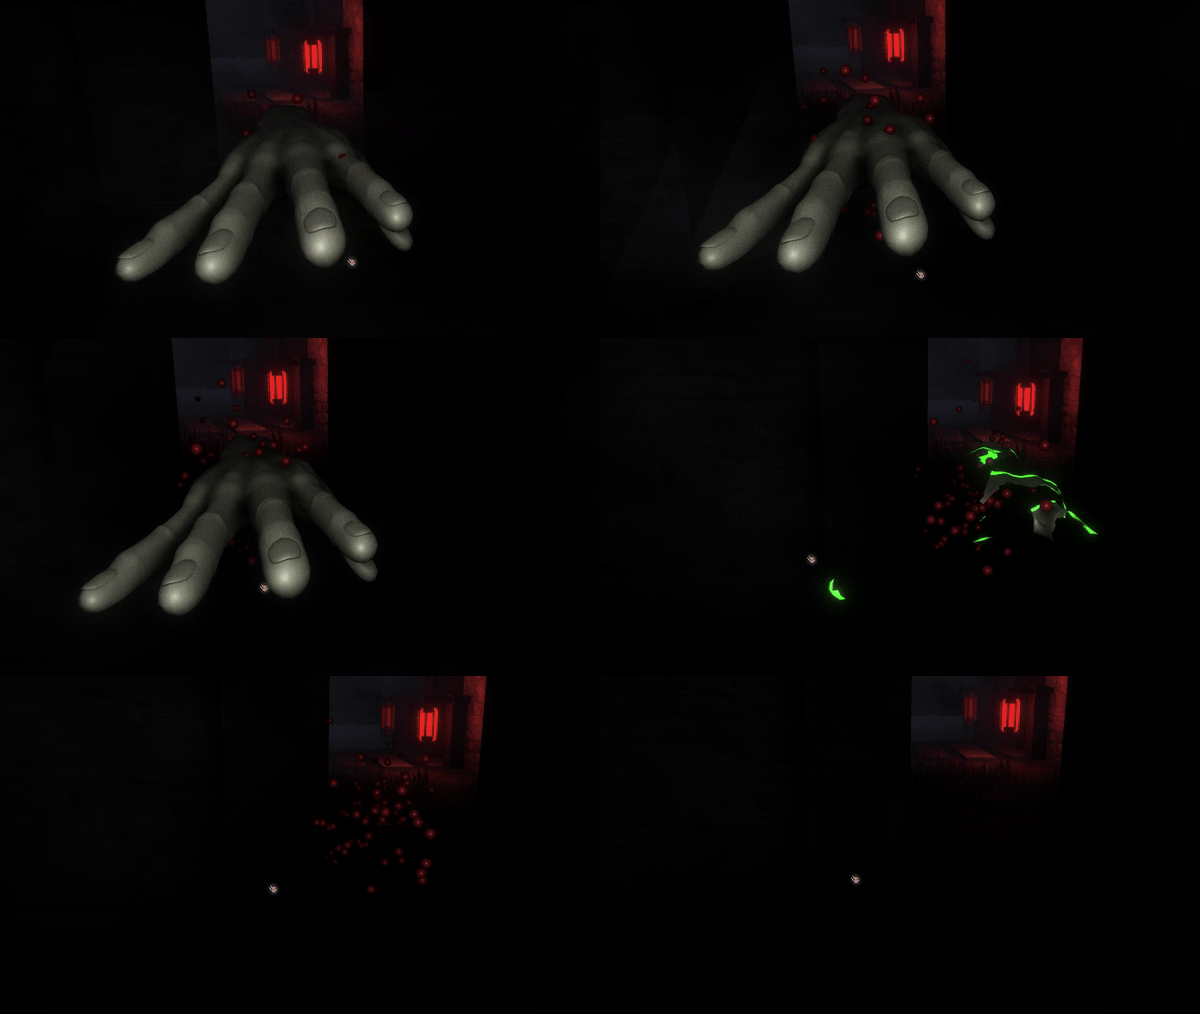
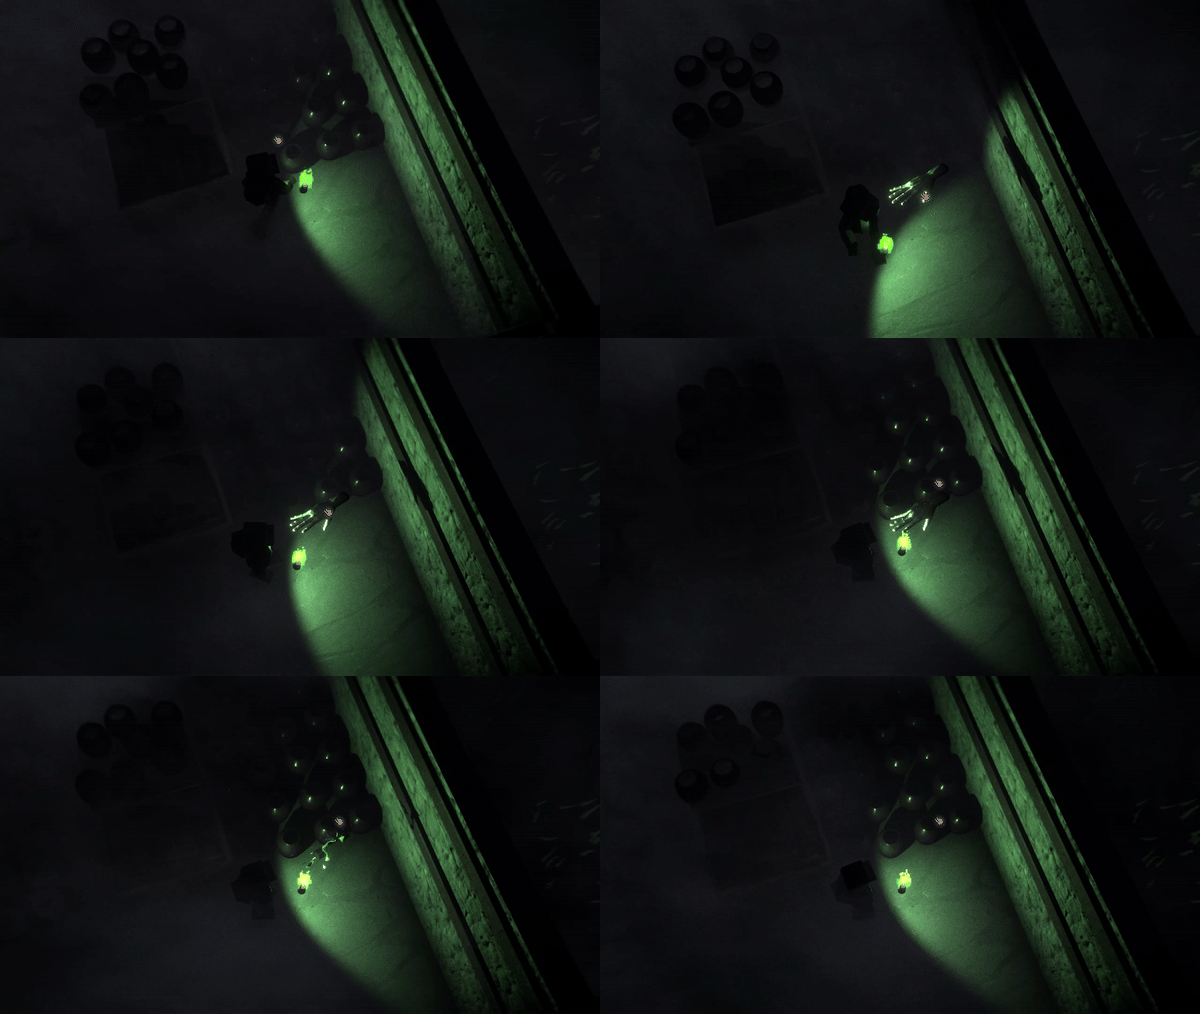
I used Simple Noise to create a dissolve effect for the monster, allowing its appearance to gradually disintegrate. A script was implemented to control and adjust the dissolve parameters dynamically.

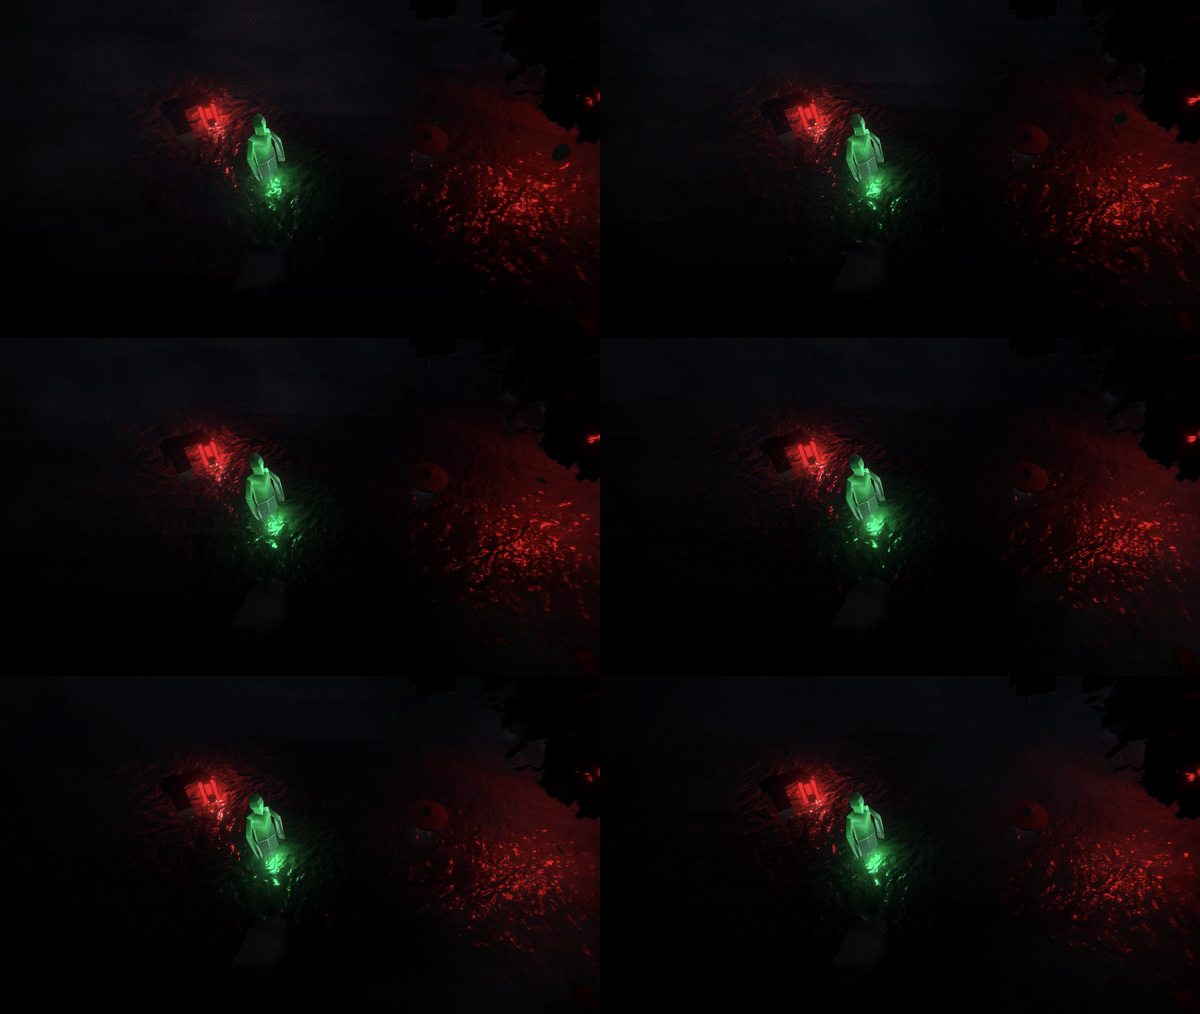
Additionally, I designed a transparent glowing effect for the soul to enhance its ethereal and otherworldly presence.


Realtime Camera Render +
Cloth System + Hinge Joint Physics
Porject: Resurgence of Horror
Engine: Unity
4
3Parts:
Curtain Cloth System +
Rea-Ltime Mirror +
Hinge Joint.
In this section, I will showcase some of the technical elements I developed beyond visual effects. These include a real-time reflective mirror, a curtain that can be pushed open, and a physics-based system that enables the lantern to sway naturally.
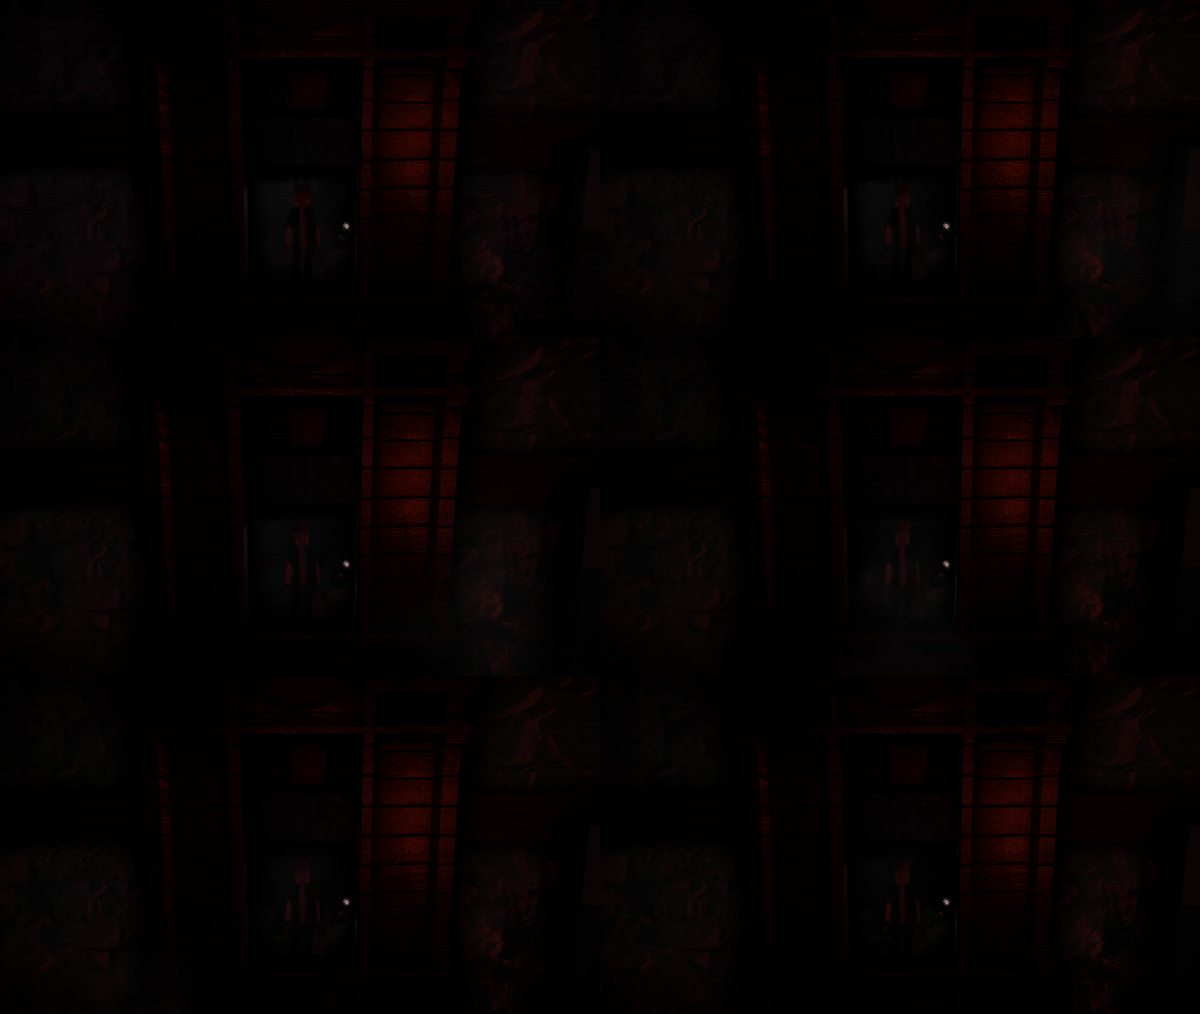
1 Curtain
Cloth System
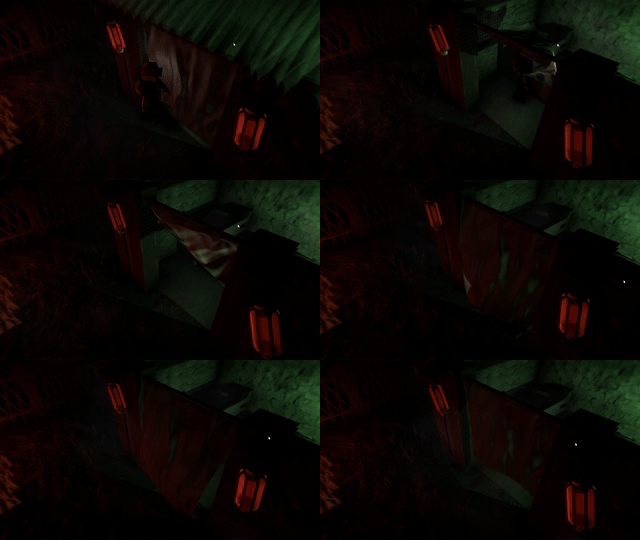
I started by creating the curtain model in 3Ds Max. To achieve a realistic and smooth appearance, it’s crucial to ensure the fabric model has a high vertex density. I used approximately 50 vertices for the curtain. After modeling, I imported it into Unity and added the Cloth Component. I fine-tuned the parameters and set up the Collider element in the Cloth Component, allowing the curtain to interact dynamically with the player or any other object.

2 Real-Time Mirror
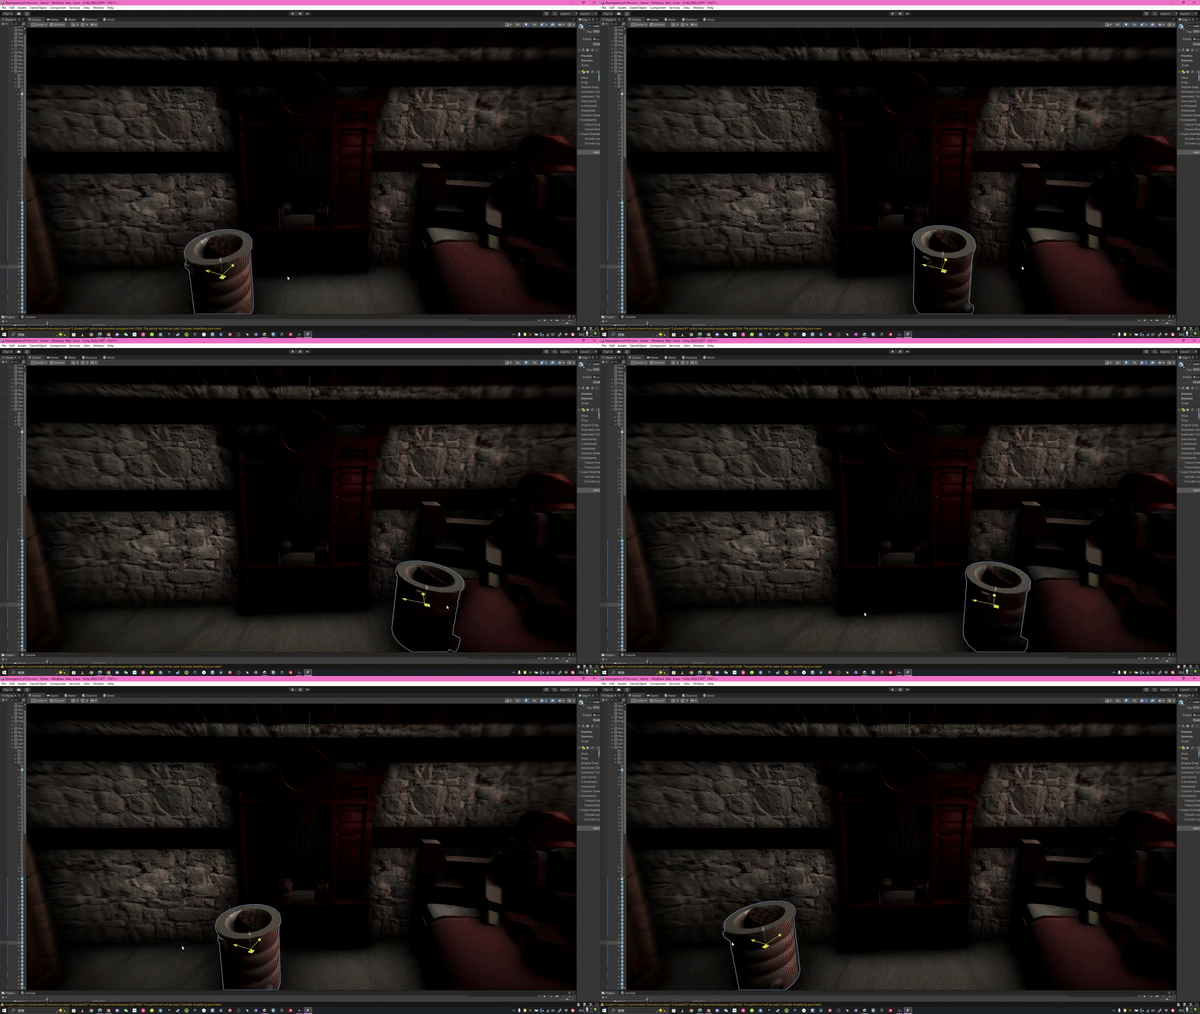
Create a Render Texture and set up a camera. Drag the Render Texture into the Camera’s Target Texture. This creates a material that reflects the scene within the Camera’s range. Finally, drag this material onto the mirror object, and it's done.
3 Hinge Joint
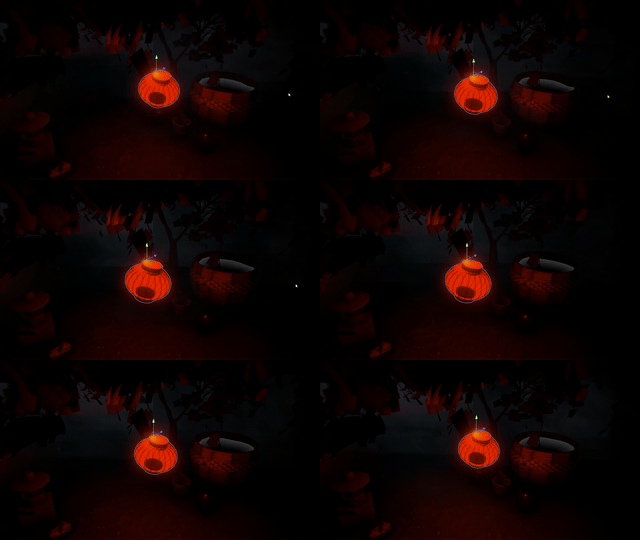
Design a hanging point and set a rigidBody for both the lantern and the hanging point. Then, add the Hinge Joint Component to the lantern. Drag the hanging point into the Connected Body field in the Component. This way, the lantern will hang from that point.
bottom of page


